Hey guys! Today I’m sharing the fastest little instant cake you have ever seen! It’s not only quick to make but tastes super delicious too!
We don’t always have time to be baking in the kitchen so this recipe helps for those times you need something fast! This time saving little cake is whipped up in literally no time at all! If a craving hits you do you really want to start a long process of baking a treat?Not me on most days! I can easily make this treat and be satisfied in minutes!
The recipe is also healthy and still keeps my wellness goals in mind still. I use healthy ingredients that are easy to find in pretty much anyone’s home. I love using staple ingredients because it just makes life easier. I always try creating recipes that use easy to source items that are regular everyday home pantry ingredients.
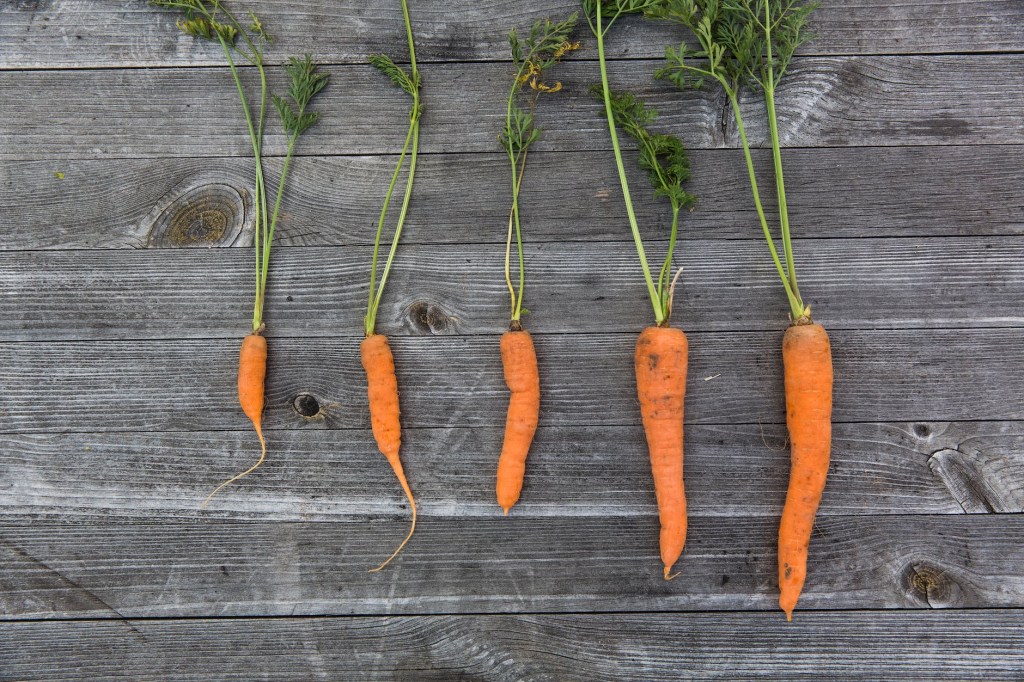
Carrots are loaded with nutritional value and they taste great! They have vitamin A (from beta Carotene), Vitamin K, Fiber, Biotin, Potassium, Vitamin B6 as well as many other nutritional benefits. Carrots are great for the skin and hair, boosts immune system, facilitates digestion and is most widely known for improving eye health. They also contain other minerals such as iron, manganese and copper. I feel great about enjoying this dessert because carrots are such power houses of nutrition!
If you wanted to jazz the carrot cake a little and extra calories are no issue then you can also add frosting on top. A yummy maple icing / frosting would work amazing on this recipe. You can add icing sugar in a small bowl with some pure maple syrup. Whisk it and add a tiny amount of plant based milk until you get a nice consistency. This will add such a nice decadent addition! If you make this dessert for a guest I would go with this added option. It will look pretty too! I would also add a sprinkle of cinnamon on top of the icing / frosting for an even prettier presentation.
I know some of you like watching a video version of the recipes so I will add my YouTube recipe video below. Thank you for the support on the channel as well. If you haven’t already Subscribed to the channel then please consider doing so for more healthy recipes!
I love having a comforting cozy warm dessert from time to time. This harsh Canadian winter is becoming too much for me. We have been hitting record cold temperatures this week. It’s just bitterly cold and depressing in general. The warming spices in this cake are a lovely treat and help tremendously. I’m really enjoying a good snuggly blanket and this warm cozy carrot cake lately. It’s becoming our go to recipe!
Instant Microwave Carrot Cake
Dry Ingredients:
1 cup Brown Rice Flour
1 tsp. Baking Powder
Wet Ingredients:
1 cup Plant Based Milk of choice
2 Tbsp. Apple Sauce
5 Tbsp. Shredded Carrot
Dash of Vanilla Extract
Spices:
Sprinkle of Cinnamon
Sprinkle of Nutmeg
Kitchen Gadgets you will need:
1 medium sized bowl
1 mixing spoon
1 small microwave safe baking dish or large wide mug
Grater (for the carrot)
* You can also add Pumpkin Pie Spice as the seasoning for this recipe *
Method:
1. Add all ingredients to a bowl and combine well.
2. Transfer to small Microwave safe baking dish or large wide Mug.
3. Place in the microwave for approximately 3 minutes & 30 seconds. Check on it at the 3 minute mark to see if you need the extra 30 seconds. Keep a close eye on the cake during the whole baking process.
4. Allow to cool off a bit because it will be very hot! You also want the cake to set nicely before digging in.
As many of you already know (if you follow me on YouTube), I decided to do a 10 day Oat Mini! I ate yummy oats at every meal and created some interesting recipes during these ten days.
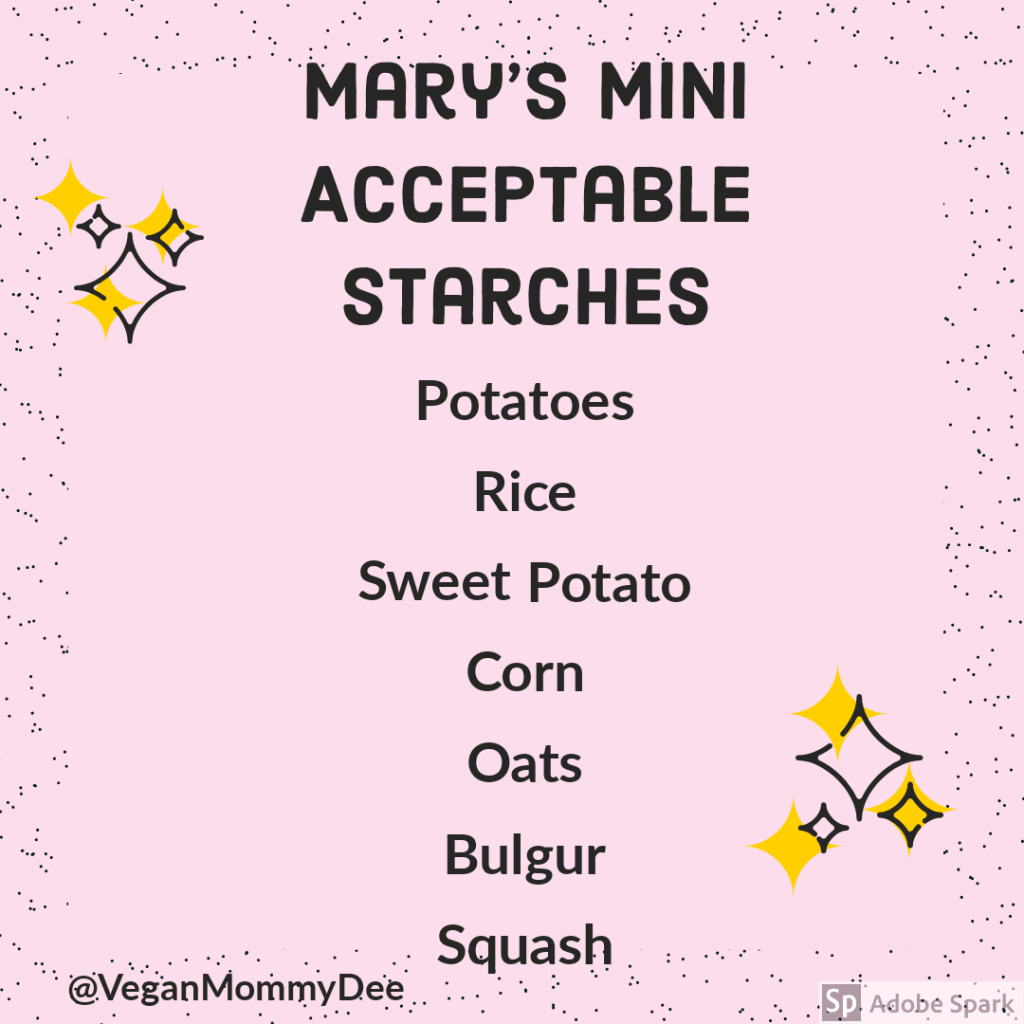
For those of you who don’t know what a “Mini” is I will explain. Mary McDougall who is Dr. John McDougall’s wife created this diet. It’s basically a short ten day diet where you eat very simply. You give your digestion a break and food is only used for fuel. It’s a time where there is very little variety. During this 10 days you pick one starch that will be the star of the show. You will eat this starch at every single meal and pair it with non starchy veggies. As far as the starch goes you can choose whatever you prefer. You can try foods like rice, potato, sweet potato or oat as the starch of choice. Just keep in mind that you will need to eat this starch for ten days. Make sure it’s a starch you really enjoy eating!
I’ve written a blog post about my experience with the Mary’s Mini so be sure to check that out. In that post I go into detail about this simple diet and the benefits of it. See February 24, 2020 for this post.
In a nut shell though it basically gives your body a much needed rest! We constantly eat such a wide range of foods and many of us over indulge constantly. This is a time for the body to relax and repair. Most people will also shed weight during this short diet. This can be for a variety of reasons but I think it’s mostly from only consuming what your body actually needs. You really get a good grip of hunger cues and eat only the amount of food you require.
I typically lose between 6-9 lbs in 10 days when I’m on the Mary’s Mini Diet. As far as weight loss goes I’ve been the most successful on rice mini’s. I don’t focus on how much weight I lose but instead I focus on how I’m feeling. I notice that any bloating that I had goes away and I’m just feeling fantastic over all.
I made quite a few interesting recipes during the 10 day Mary’s Mini. One of those recipes was my Mushroom & Oat Stew. It was a little weird at first because I always ate sweet breakfast type oats in the past. I’m so glad I stepped outside my comfort zone though because this recipe turned out delicious! I had a lot of requests for the recipe so I promised I would post it here. It’s easy to find for future reference here on the blog.
I love how easy the recipe was to make and it was loaded with flavour. It’s also super packed with nutrition which is a major plus! I love using mushrooms in this meal because as we approach the colder months immune boosting foods are really important for me to incorporate in my meals. You can add any additional veggies in the recipe if desired. I also like to place a bed of spinach down first in my bowl or plate. This is a great way of incorporating more fresh veggies into our diet. I think the spinach is a wonderful addition to this meal and it also makes it a nice presentation if serving it to others. I then top the spinach with this delicious stew. I like the additional option of hot sauce on top too for extra flavour. You can add oil free condiments to meals on the Mary’s Mini.
I’ve done many rice mini’s, a couple potato mini’s and those all went very well. I decided to try the oat mini since I hadn’t yet tried it out. It was actually super easy to do. The 10 days didn’t drag on at all. I felt satisfied and content. I ate a lot of traditional oatmeal with blueberries or mango and I added cinnamon for extra flavour. It was nice adding in some savoury dishes during the oat mini. Oat’s s can be used in so many different ways and it always tastes great. I also get that cozy feeling after enjoy warm sweet oats. I usually paired it with whatever extra veggies I needed to use up. It was sometimes bell peppers or a yummy side salad with a sprinkle of lemon on top.
I also really like the simplicity of this short diet. It really makes life quite fuss free. You always know what starch you will be eating so all you have to do is make sure you have a good mix of non starchy veggies on hand. I found it very helpful for my work lunch too. It was very easy to pack up my food. Not much prepping required at all. This was such a time saver for me!
Here is the super easy recipe for you to enjoy! Let me know if you try it out in the comments below. I will also add the video version of this easy recipe in this post in case you prefer to watch me cook it up! If you can also take a moment to Subscribe to my YouTube channel I would truly appreciate the support and love! Giving the YouTube video a Like also helps my channel tremendously. Thank you!
Mushroom & Oat Stew
⁃ 4- 5 cups chopped Mushrooms
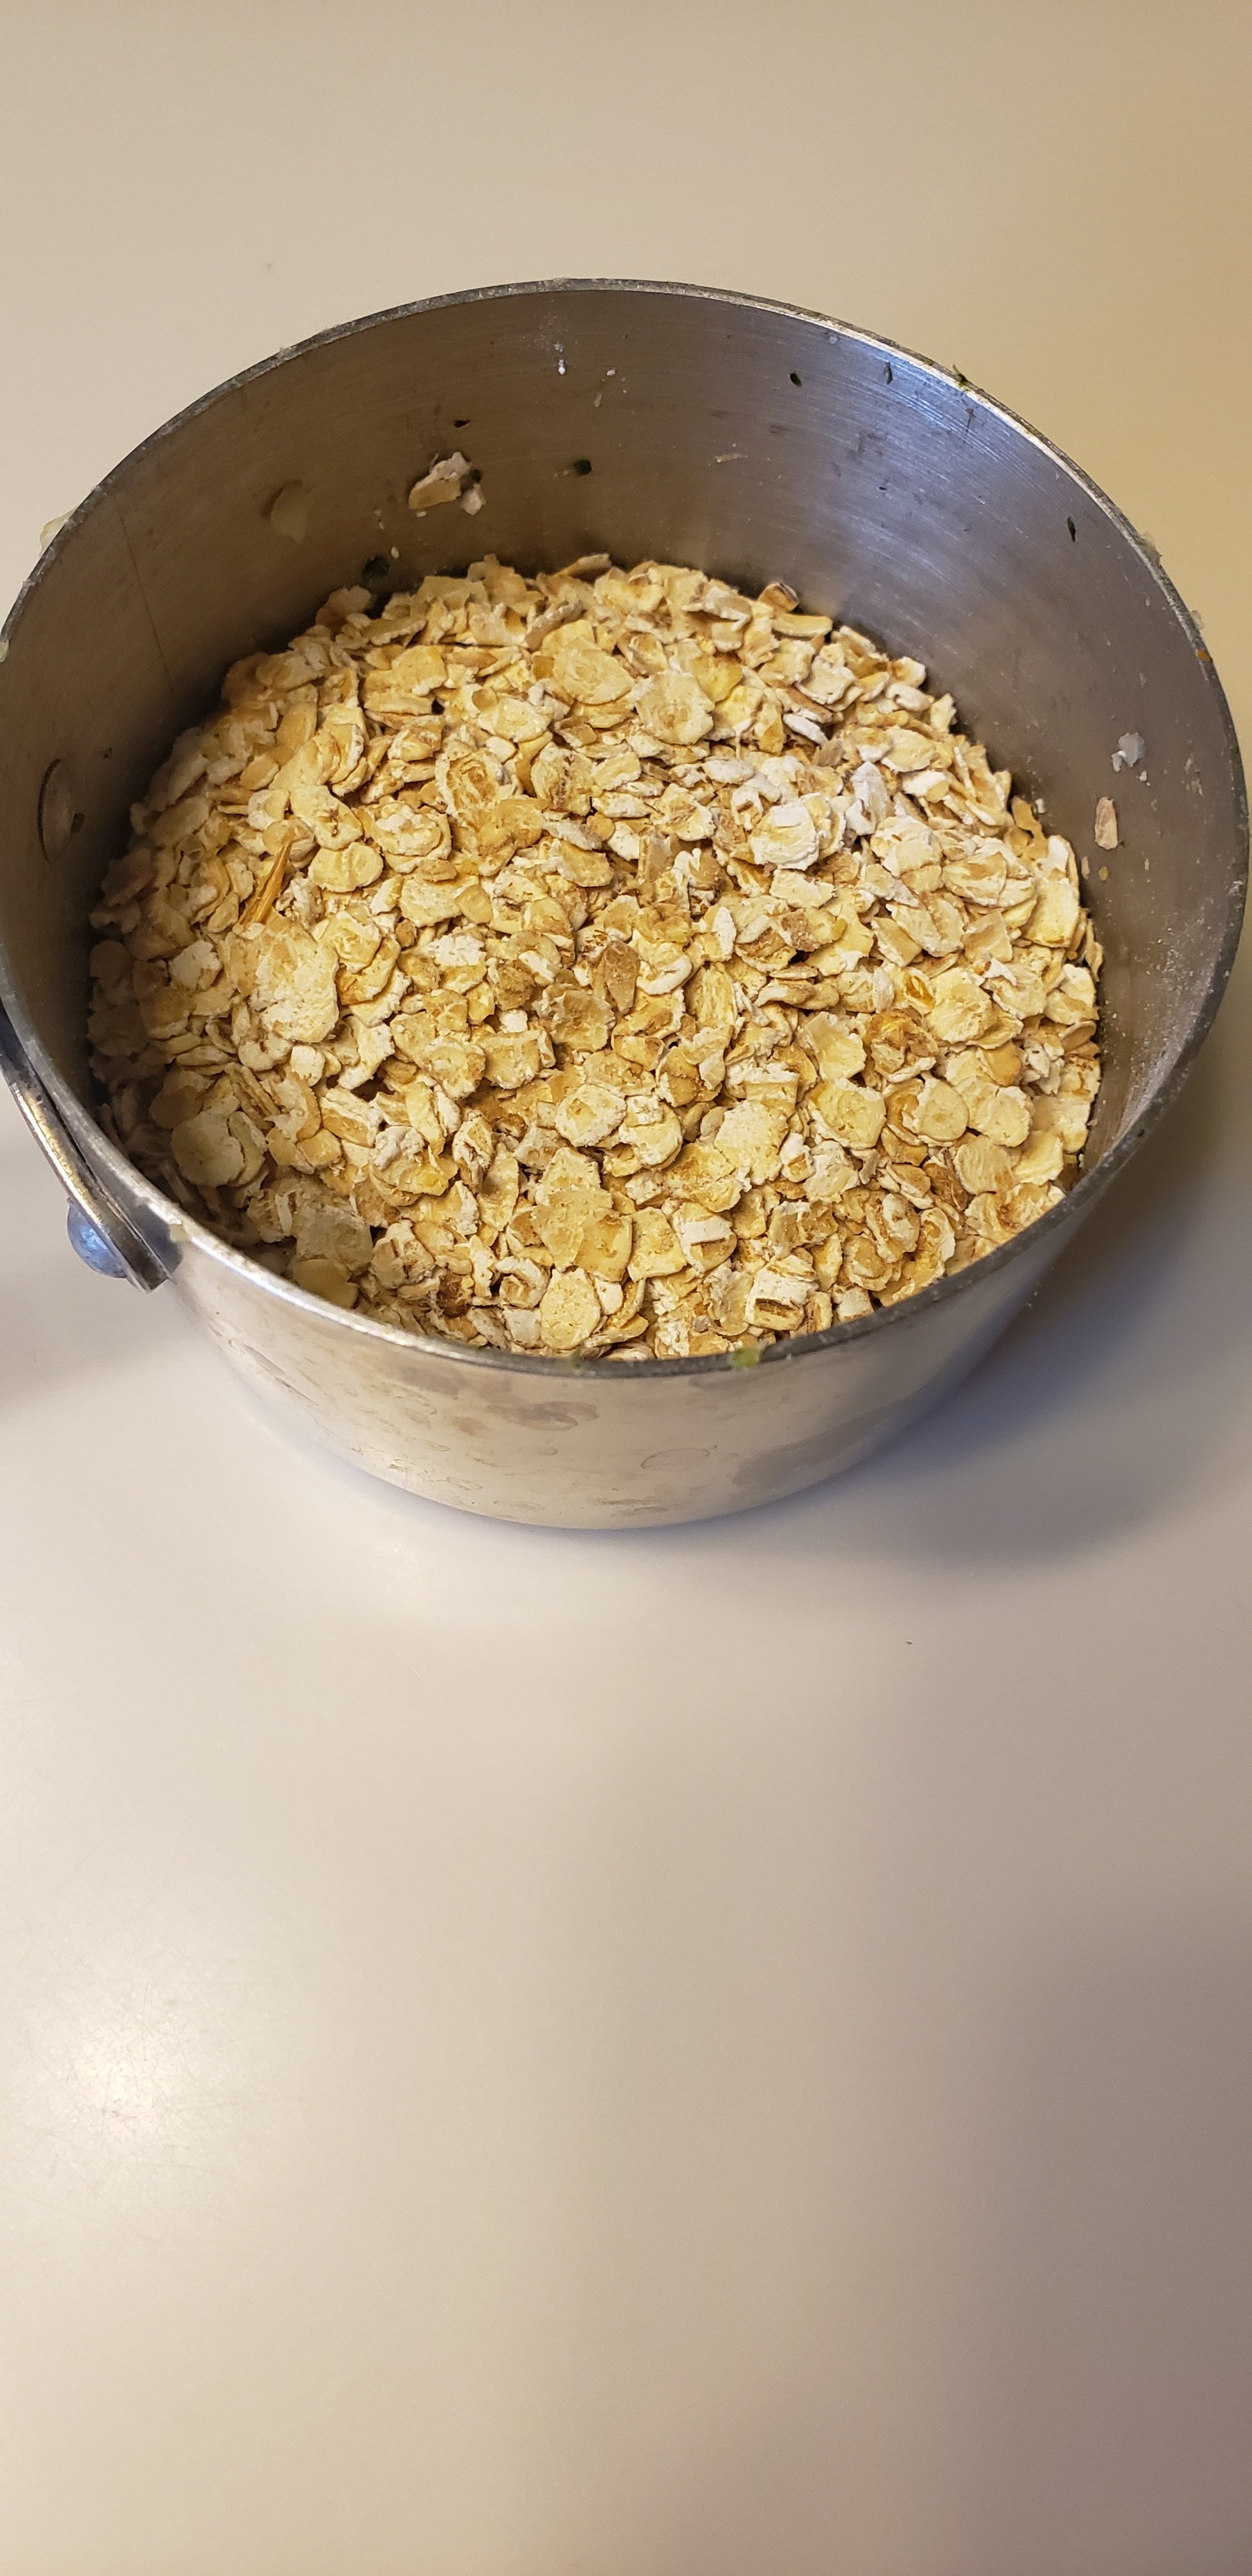
⁃ 4 cups Oats
⁃ 2-3 minced cloves of garlic
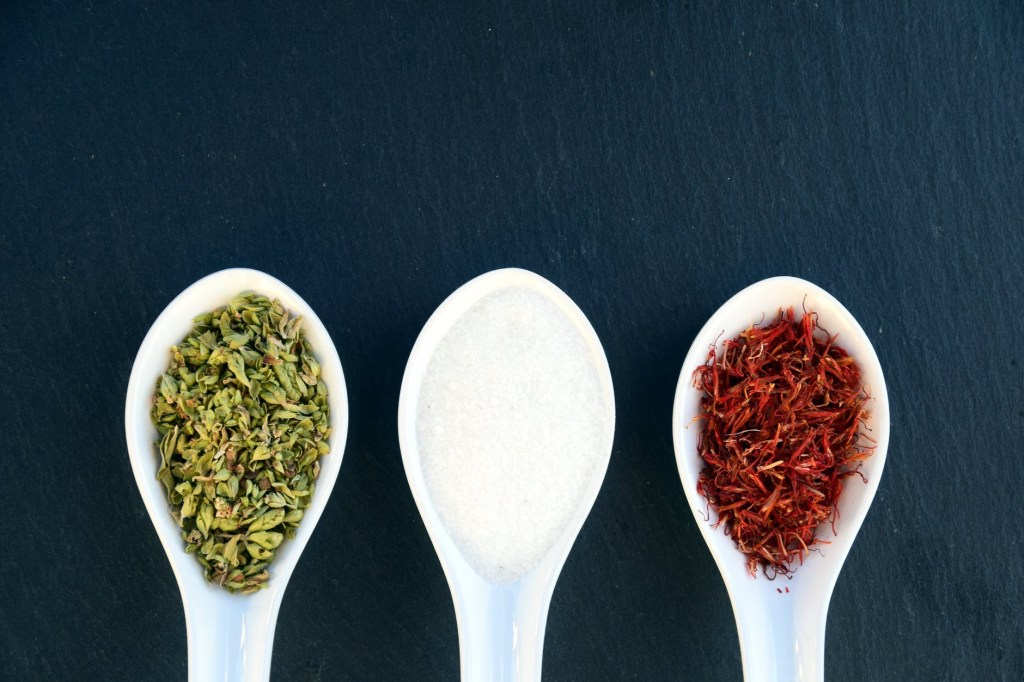
⁃ Dry Thyme, Dry Oregano, Paprika and Onion powder
⁃ 5-6 cups of filtered water
⁃ Fresh parsley (optional)
Method:
1. Water sauté the garlic in a large pot or Dutch oven.
2. Add the seasonings & herbs
3. Add the oats and water. Combine well.
4. Keep an eye on it and mix it up to make sure it doesn’t stick to your pot and burn. Add extra water as necessary.
5. Cook for 20-30 minutes on a medium heat.
6. Serve by adding fresh parsley on top and optional hot sauce or any sauce that is oil free.
Today I’m sharing literally the easiest recipe ever with you all! This is my go to meal when I have no time at all and still want to eat healthy. This keeps me on track with my health and wellness goals. My yummy Tomato & Chickpea Soup is so delicious and filling.
I also love how easy it is to whip up for work. If I’m unsure as to what to bring with me, this recipe is great. It takes very little time to make and it’s packed with nutritious ingredients to fuel me for a long shift ahead. It’s also great as a meal prep option for go to dinners after work. It’s easy to store in a container and reheated for a quick dinner option.
I like adding chickpeas to my tomato soup to bulk it up a little and make the meal more filling and satisfying. Chickpeas are a powder house of protein too! They pack in at 14.5 g of protein and 12.5 g of fiber in just one cup of chickpeas! They also contain magnesium, iron, calcium and potassium. I feel so good about adding them to my meals for all the added health benefits.
I don’t add any oil to my meals in order to reduce the over all calories content. Just one tablespoon of oil is an added 120 calories. I don’t feel good about adding empty calories into my meals. Most people will add way more than one tablespoon of oil to meals. That’s a lot of extra unnecessary calories! It won’t add any added flavour to the meal. I feel like people put in their heads that they need it for flavour. In reality you really won’t miss it! You can add extra flavour with oil free broth, bouillon, herbs and other seasonings. Skip the oil to save on calories!
I hope you enjoy my easy recipe. Please tag me on IG @ VeganMommyDee if you decide to make it. I hope it helps you on busy days when you don’t have time to cook a complicated recipe. This recipe takes very little time and it’s absolutely delicious. I will also add the recipe video below for those of you who enjoy watching me make my easy recipes. If you haven’t already Subscribed to my YouTube channel, then please consider doing so now. I have loads of easy to make recipe videos on my channel. Thanks for the support and love! I appreciate each and every one of you!
Tomato & Chickpea Soup
Ingredients:
⁃ 796 ml can of fire roasted tomorrow
⁃ 796 ml can of whole peeled tomatoes
⁃ 398 ml can of chickpeas, rinsed
⁃ 398 ml of water or oil free veggie broth
Seasonings:
⁃ 1 Tbsp. Garlic Powder
⁃ 1 tsp. Onion Powder
⁃ 1 Tbsp. Dry Oregano
⁃ Sprinkle of Black pepper
⁃ Sprinkle of Umami mushroom seasoning
⁃ 1 Tbsp. of Basil, fresh or dry
⁃ 1 tsp. Oil free Veggie Bouillon (Optional)
Method:
1. Add the tomatoes, water and seasonings to a soup pot.
2. Use a potato masher to chop the whole tomatoes a little. You can also just buy chopped tomatoes in a can and skip this step all together.
3. Allow to cook on a medium heat for 15-20 minutes with the lid on.
4. Add the chickpeas to the soup and mix well. Cook for another 5 minutes with the lid off.
5. I add a little Himalayan pink salt when serving the soup.
I wanted to share a very easy and healthy cookie recipe with you all today! It’s super easy to make and it can be all done in one bowl! You don’t need loads of supplies and ingredients to make these tasty cookies. Anyone can whip these up! In fact my 5 year old loves to help me make them. It’s definitely an children friendly recipe.
I love having healthy go to snacks available for my family, like these cookies. Everyone is always busy but it’s super easy to pack up these cookies and hit the road. I find packing healthy cookies and treats will save me from purchasing unhealthy goodies throughout the day. If hunger strikes I like having something with me in the car or my backpack to eat. Cookies like this that are filled with real ingredients, offer nourishment and you will be that much more likely to get to your next meal. You don’t want to be starving by the time your next meal comes. Snacks like this help tremendously for me personally.
You can use any type of flour you have on hand for this recipe. I will only say that you might need to add a little more milk to the batter if necessary. If you find that it’s too dry then add a little milk slowly to the bowl and combine well. My favourite flour to use is spelt flour when I make these cookies but I also use other types when needed. It will still taste good regardless of what you decide to use. I like creating recipes that allow flexibility because everyone has to work with what they have available to them. Due to the pandemic I know many places are experiencing food shortages. Grocery stores aren’t getting their full deliveries on products. We just have to work with what is currently available to us.
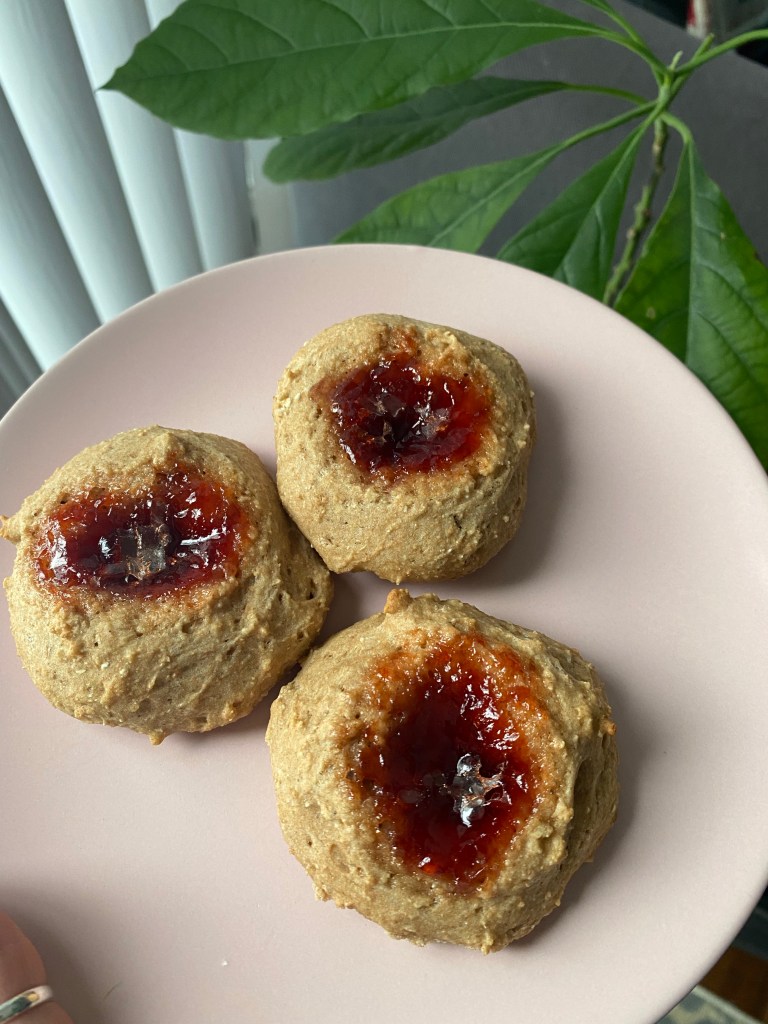
Fluffy Jam Filled Cookies
Dry Ingredients:
⁃ 2 cups Spelt Flour
⁃ 1/3 cup sugar
⁃ Sprinkle of salt
⁃ 1 tsp. Baking Powder
Wet Ingredients:
⁃ 1/3 cup Unsweetened Apple Sauce
⁃ 1 tsp. Pure Vanilla extract
⁃ 1/3 – 1/2cup Plant based Milk
⁃ 1/3 cup Jam ( l used Crab Apple Jam)
Method:
1. Preheat oven to 350 F.
2. Combine all the dry ingredients in a large bowl.
3. Next combine all the wet ingredients in a medium sized bowl.
4. Add the wet ingredients into the dry and combine well.
5. Place the dough on a lined baking pan. I do golf sized balls and place an indentation in each using a small teaspoon.
6. Add a little of the jam inside each cookie.
7. Bake at 350 F for 12-14minutes.
Note: You can use one bowl to make this recipe too! Add all the dry ingredients and then toss in the wet ingredients. I add 1/3 cup of milk first and depending on the type of flour I’m using. I will go ahead and add more milk if needed.
Enjoy! 💚
I will insert my video version of this quick and easy recipe in this post. Many people find it helpful to watch them. If you haven’t already Subscribed to my channel on YouTube then please consider doing so now. I have loads of easy to make healthy recipes on there! Thanks for the support!
Hi everyone! Hope all is well with you all. It’s still quite cold and damp in my neck of the woods. The rain and dampness has made me crave comforting baked goods so I’ve been revamping my banana bread. It’s just a cold, cold Spring!
I’ve enjoyed baking and creating lots of cozy meals lately. It’s all about the comfort meals this time of year. I have so many recipes to share with you all this year and I’m hoping to get them posted soon. I’ve been recipe testing and trying my best to create healthy versions of my favourite meals. Many of them have been a huge success but a few still need to be tweaked a tad.
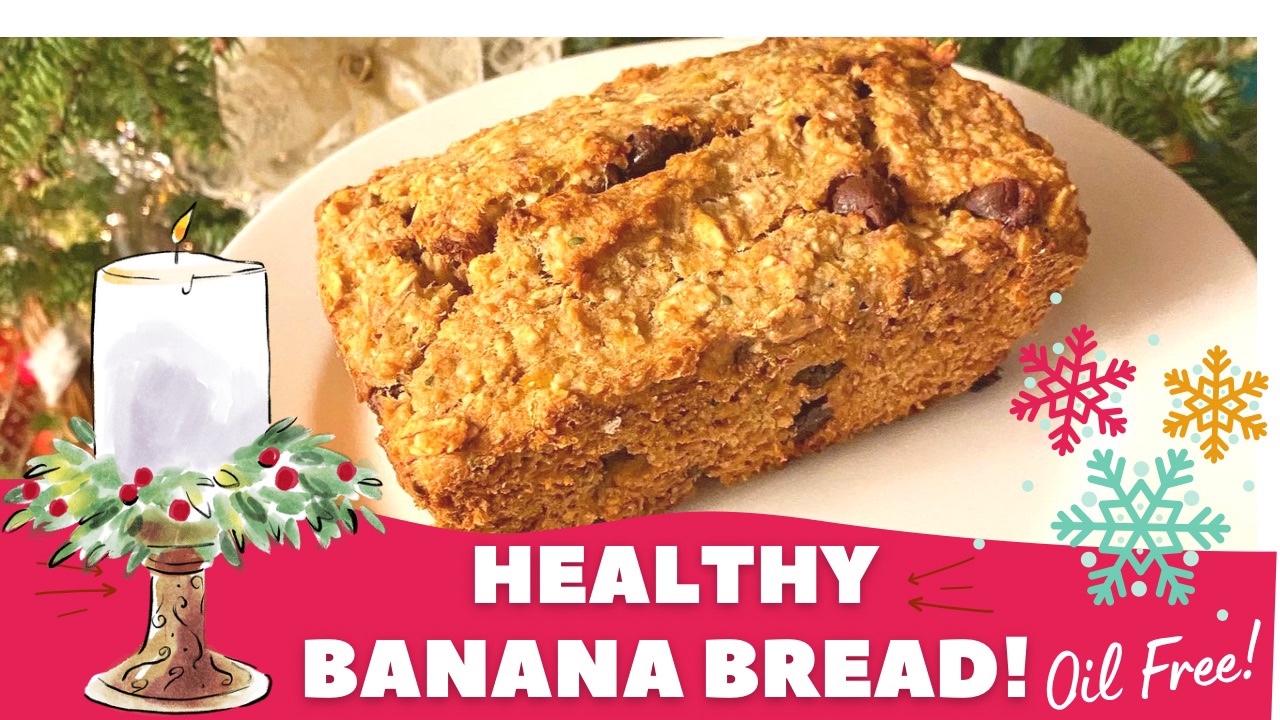
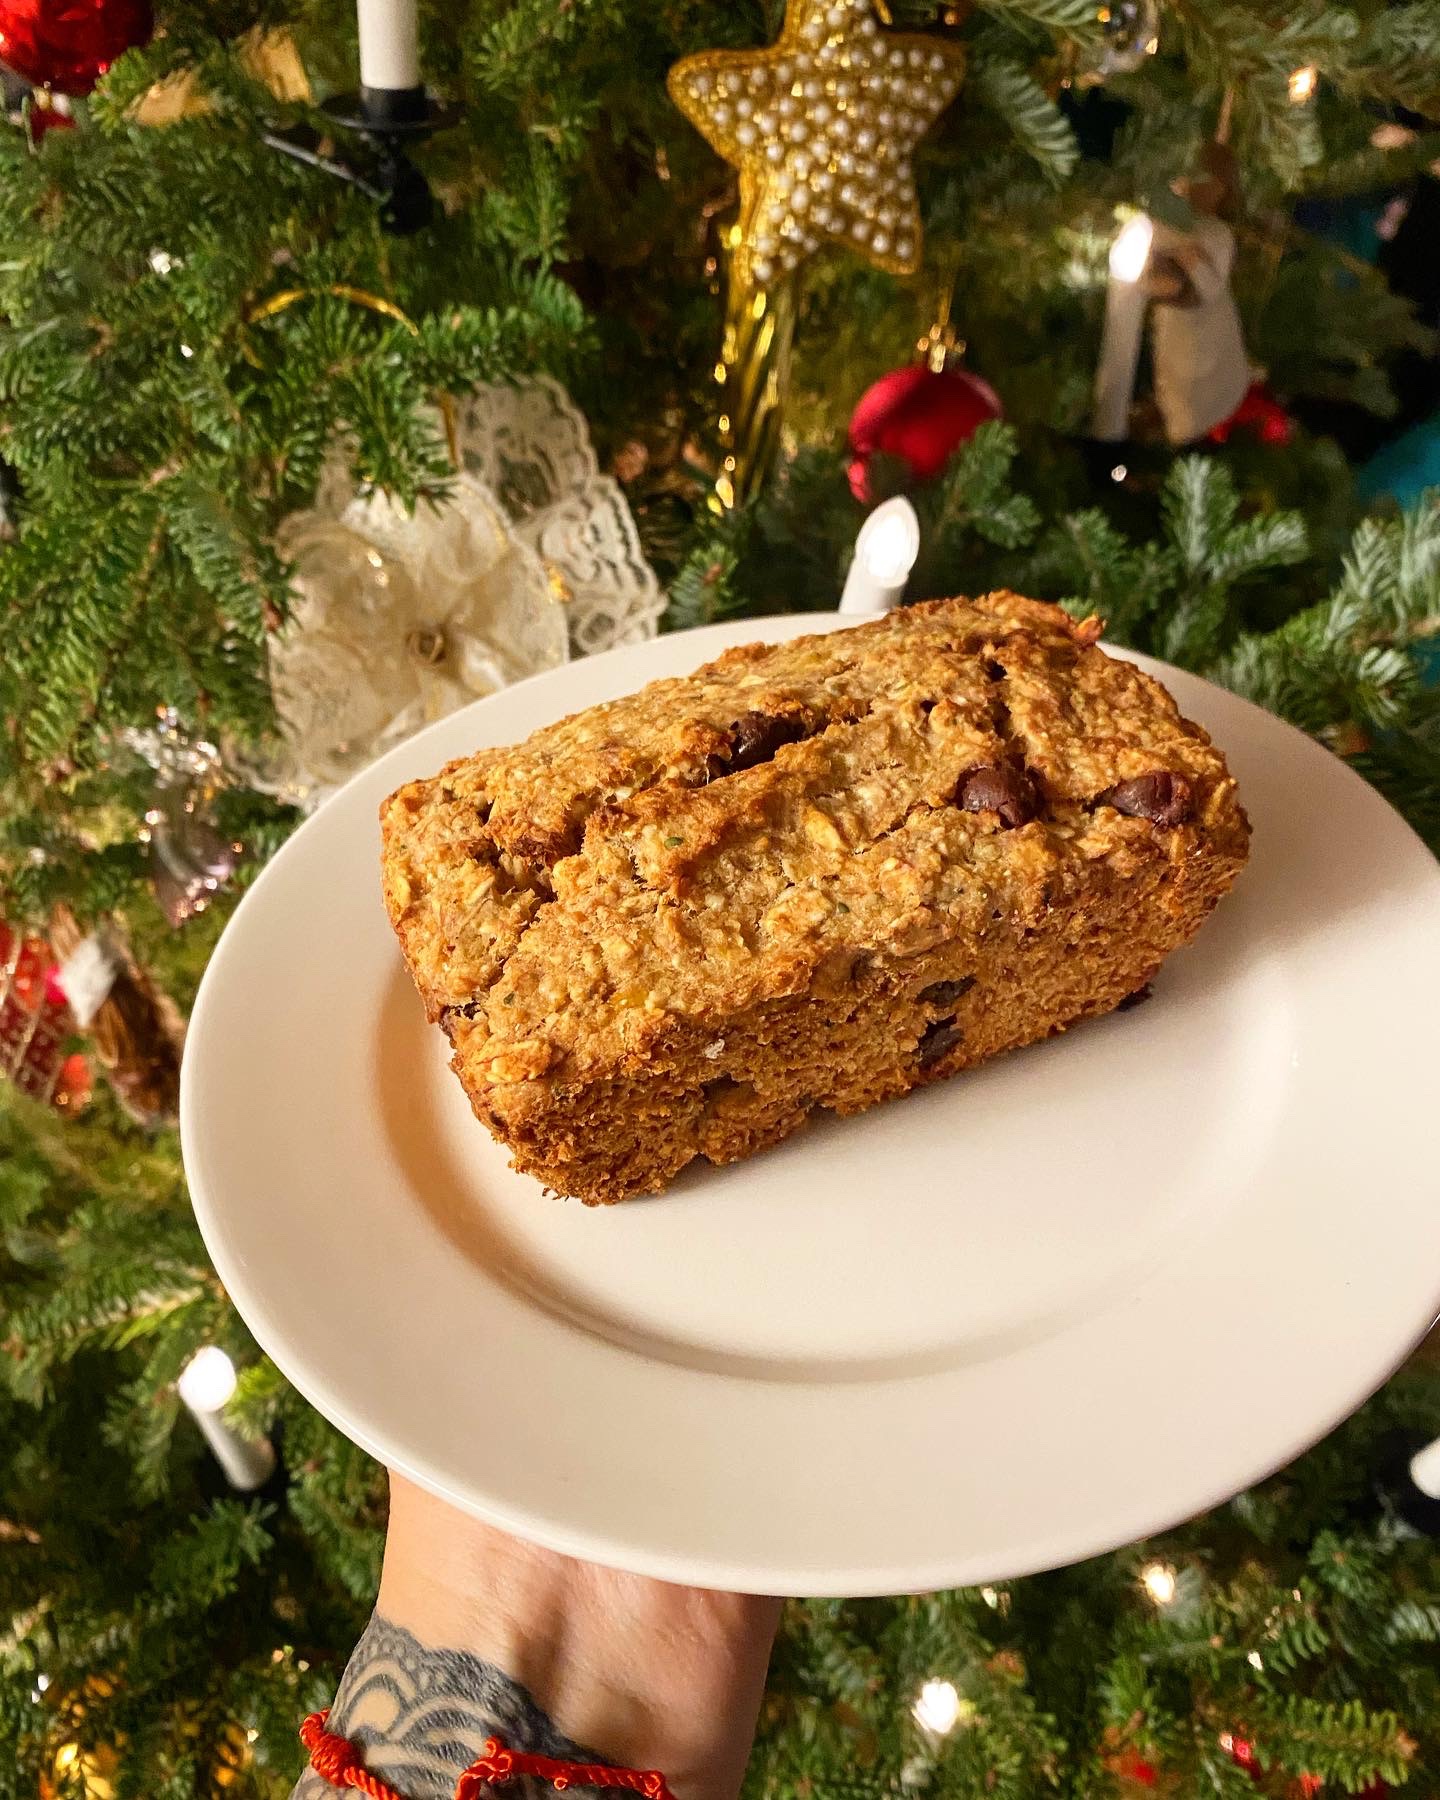
I’ve recreated my original banana bread and made it as healthy as possible without sacrificing the taste of this epic treat. I’m so very happy with the result! This is the most often made treat at my house. It’s easy to make, includes staple ingredients that pretty much everyone has on hand and it’s guilt free. It’s healthy and delicious! No need to have any guilt about indulging in this banana bread. You’re fueling your body with nutritious ingredients instead of the typical store bought version that’s full of sugar and fat.
I also love using this recipe for mini muffins and mini loafs. Just bake them for a shorter period of time. I love how versatile this recipe is.
I really tried to break this recipe down to minimal ingredients so that everyone can feel like they can make it easily. It doesn’t matter what your skill level is in the kitchen either. This recipe is so easy that anyone can make it, and end up with a perfect snack. I also like to create meals that children can make as well. My son is usually my assistant in the kitchen. I want him to learn the importance of making home cooked meals and desserts. My recipes are easy enough for him to help me with and learn some skills. If you have little ones too, then you can definitely make this recipe with them!
My recipe is less calorie rich than my original version. I decided to eliminate the nuts and oil to save on calories. I realized that they were honestly unnecessary ingredients in the recipe. Any type of oil is still refined and not healthy by any means. It provides no nutritional benefits and makes baked goods very calorie rich. I know the hype right now is eat all the fat you can because it’s said to be healthy for us in our diet. The reality is, it’s not. Yes we need some fat in our diet but it really should be from the whole food source such a yummy avocado.
I will add my video version of this recipe below. I know a lot of you enjoy watching the recipe video on my YouTube channel. Thank you for the continued support on my channel. I really appreciate it. If you haven’t already Subscribed to my channel then please consider doing so if you enjoy health and wellness videos. I make healthy yet satisfying meals on my channel and provide wellness tips as well.
Ok so let’s get to the good part …
Here is probably one of my most favourite recipes that I’ve ever created! I hope you enjoy it as much as we do!
Healthy Guilt Free Banana Bread
Dry Ingredients:
2 cups of oat flour
1 cup of oats
1 teaspoon of baking powder
1/4 cup hemp hearts (optional)
2 Tbsp. Ground Flax
Optional : 1/4 – 1/3 cup Vegan Chocolate chips/chocolate chunks or cacao nibs
Wet Ingredients:
6 Tbsp. Warm Water
1 teaspoon pure vanilla extract
1/2 of a cup of plant-based milk
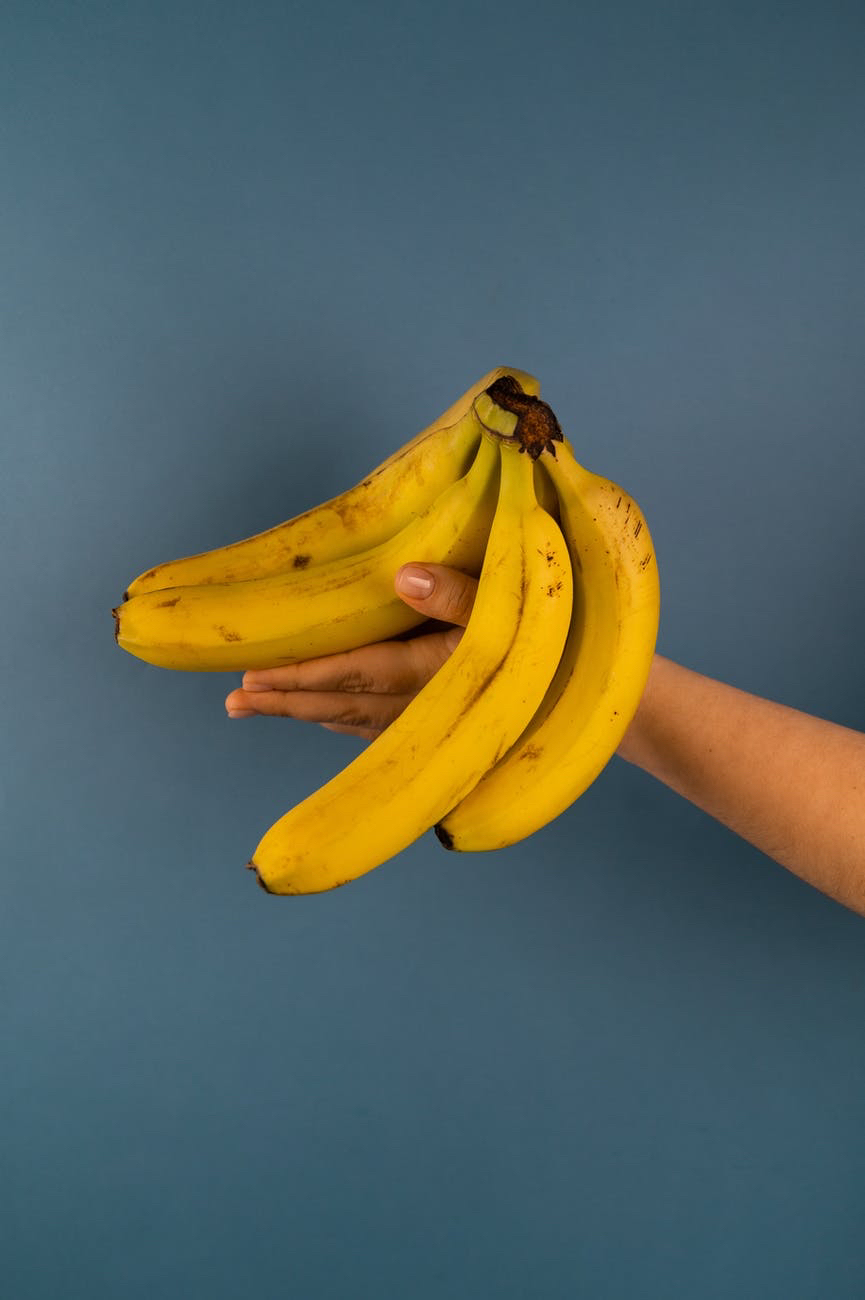
3 regular sized spotty bananas, mashed
1/3 of a cup of sugar. I use coconut sugar, brown sugar, or maple sugar.
* Preheat oven to 350 F *
Method:
1. In a large bowl place 2 cups of oat flour and 1 cup of oats. Next add in 1 teaspoon of baking powder and 1/3 cup sugar of choice. Combine well. Toss in the 1/4 cup of hemp hearts if you are using them in your banana loaf.
2. Add 2 tablespoons of flax meal to a small bowl with 6 tablespoons of warm water. Mix well and allow to thicken up
3. In another large bowl mash three spotty bananas well. Add in 1 teaspoon of pure vanilla extract and the 1/2 cup of plant-based milk. Mix well.
4. Add the flax egg into the wet ingredients. I use a fork to mix it well.
5. Next add the wet ingredients into the dry and combine everything very well.
6. Transfer your batter into your baking dishes or loaf pans. Bake at 350° for approximately 40 to 50 minutes.
ENJOY! 💛
Let me know if you try my recipe out in the comments below! Have a wonderful week everyone!
Happy Saturday! Fall has arrived and the weather is quickly changing in my neck of the woods. The air is crisp and it’s officially cozy warm sweater weather! The evening gets pretty darn chilly now too. I get inspiration this time of year and then I try creating some healthy seasonal recipe options. I’m all about trying to create healthy treats at home instead of buying store bought goods whenever possible.
I really like to try new recipes and creating healthy versions of some of our favourite meals. I still want to enjoy a sweet treat every once in a while but I still want to stay within my wellness goals.
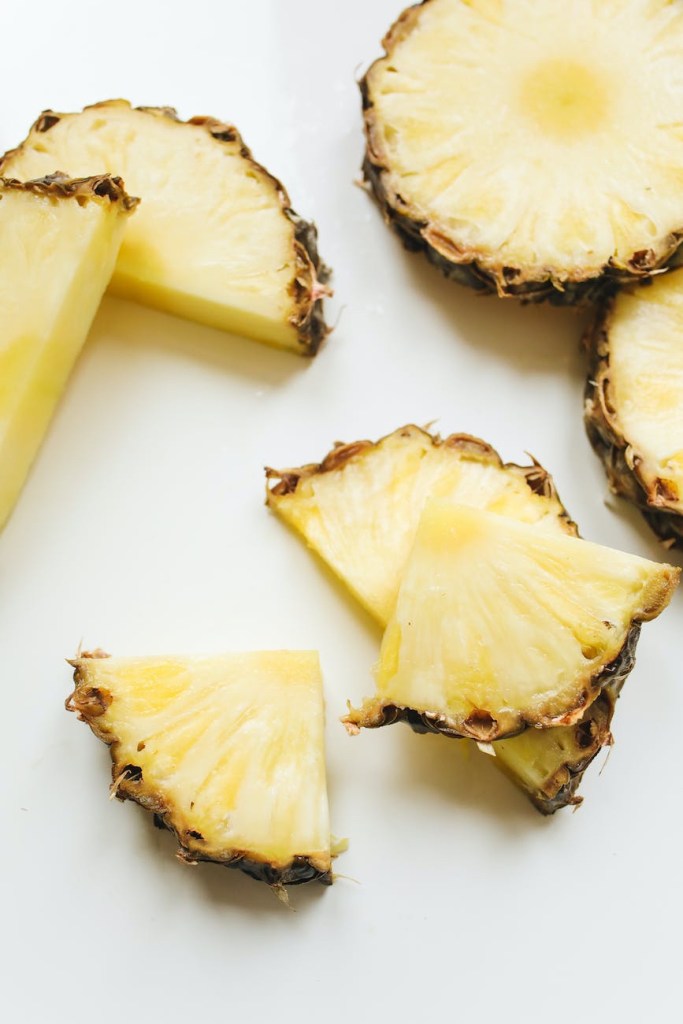
The holiday season is upon us and Thanksgiving is around the corner. It’s my favourite time of year because it’s a time to reflect on all the blessings we have in our lives. I feel so grateful for the life I have created! I also love the warm and cozy dishes that come along with the fall/autumn season too. I will be making my Pineapple Upside-Down Cake this year for my family celebration. It’s comforting and delicious. It’s always a hit every time I make it!
Today I’m sharing my super yummy and easy to make Pineapple Upside-Down Cake recipe with you all. I love creating healthy versions of some classic recipes. I wanted to feel good about bringing this dessert to a family get together because it’s healthy and very delicious at the same time. I want my family to enjoy a sweet treat without loading them full of unhealthy and unpronounceable ingredients.
In order to sweeten the cake you can use a variety of options. I like using Date or Coconut sugar the best. If I can’t find it at the store I will buy whatever options are available to me. I sometimes have to buy cane sugar because nothing else is available. I just recommend you trying the best you can to find the healthiest options. Everything can’t always be perfect in life and we just have to accept that and not feel guilt around it. I also remind people that although we might personally enjoy treats with little or no sugar in it other people maynot. If you decide to share baked goods with others then please add the recommended amount of sugar. I feel like compared to other recipes or store bought cakes I’ve already cut down on the sugar considerably. You want other people to really enjoy it fully! When spending time with friends and family I always try and restrict a little less in order for everyone to enjoy the meal to the fullest. Time together building memories and truly enjoying the food is most important.
I also wanted to create a recipe that included easy to find ingredients as always. You guys know I’m all about keeping things fuss free! I wanted everyone to be able to find everything they needed at any local grocery store or market. Things like canned pineapple is pretty cheap to buy and works perfectly! Fresh pineapple can sometimes be quite costly depending on where you live. I didn’t want the cost of the cake to be too high overall so I stuck with staple pantry ingredients. We don’t need to break the bank in order to create a homemade treat! A simple, homemade, healthy and comforting cake was my goal. I hope you enjoy it as much as my family and I do!
PINEAPPLE UPSIDE-DOWN CAKE
Topping Ingredients:
⁃ 1/4 cup apple sauce
⁃ 1/3 cup Brown sugar or Maple Sugar
⁃ Pineapple slices
Ingredients:
⁃ 1/2 cup Soy Milk + 2 Tbsp.
⁃ 1 tsp. Apple Cider Vinegar
⁃ 1/4 pineapple juice
⁃ 1/2 cup apple sauce
⁃ 1 tsp. Pure Vanilla extract
⁃ 1/3 – 1/2 cup sugar of choice (I use coconut or date sugar most of the time)
⁃ 1 1/2 cups flour of choice (I use brown rice or oat flour)
⁃ 1 1/2 tsp. Baking powder
⁃ 1 flax egg = 1 Tbsp. Flax meal & 3 Tbsp. Water. Combine, set aside and allow to thicken.
Method:
1. Preheat oven to 350°F
2. Make the topping and add to the bottom of a 9 inch round baking pan. Arrange pineapple slices around the pan as well.
3. Next you’re going to make your flax egg. Add 1 tablespoon of flaxseed meal into a small bowl and 3 tablespoons of warm water. Combine well and set aside to thicken up.
4. Next add the milk,apple cider, pure vanilla extract, sugar and applesauce. Mix well.
5. Next add the flax egg to the wet ingredients and combine it well.
6. Now in a large bowl combine all your dry ingredients be sure to mix it well.
7. Transfer all the dry ingredients into the wet ingredients and combine all the ingredients.
8. Pour over the pineapple rings in the pan evenly distribute the batter out.
9. Bake for 35 to 40 minutes in a 350°F oven.
10. Once it’s baked allowed to completely cool before transferring to a plate or serving dish. Once it’s cooled you can place a plate on top of the pan and flip it over. The cake should slide out easily if you have a nonstick pan if not you may have to pre-oil your pan in order to ensure the cake can be removed easily.
Enjoy! 💚
I will include the video version of this yummy cake! If you haven’t already Subscribed to my YouTube channel then please consider doing so now. That way you don’t miss any upcoming cozy & comforting recipes upcoming! Thank you for the support and love on the channel!
I wanted to share another very easy to make recipe with you all. I’m often asked about how I make my homemade veggie burgers. I always share my favorite recipes so you can all enjoy them too. I usually throw everything I want to add into my burgers into a big bowl and wing it. I don’t normally measure things and I just eye ball my measurements old school. This makes it difficult to pass on to others though so I’m trying to change my ways. I’m now forcing myself to measure things out and write them down as I create my meals. The notes section on my cell phone has been very useful for this. I don’t have to search for paper, pen or an excuse not to jot it down!
I used to complain to my mom about her never having written recipes and winging her meals back in the day. I thought “how on earth will I learn to make these meals if she doesn’t have a recipe written down to follow”? Well, I’ve become my mother it seems. Sorry guys like I said, I’m trying to change my ways!
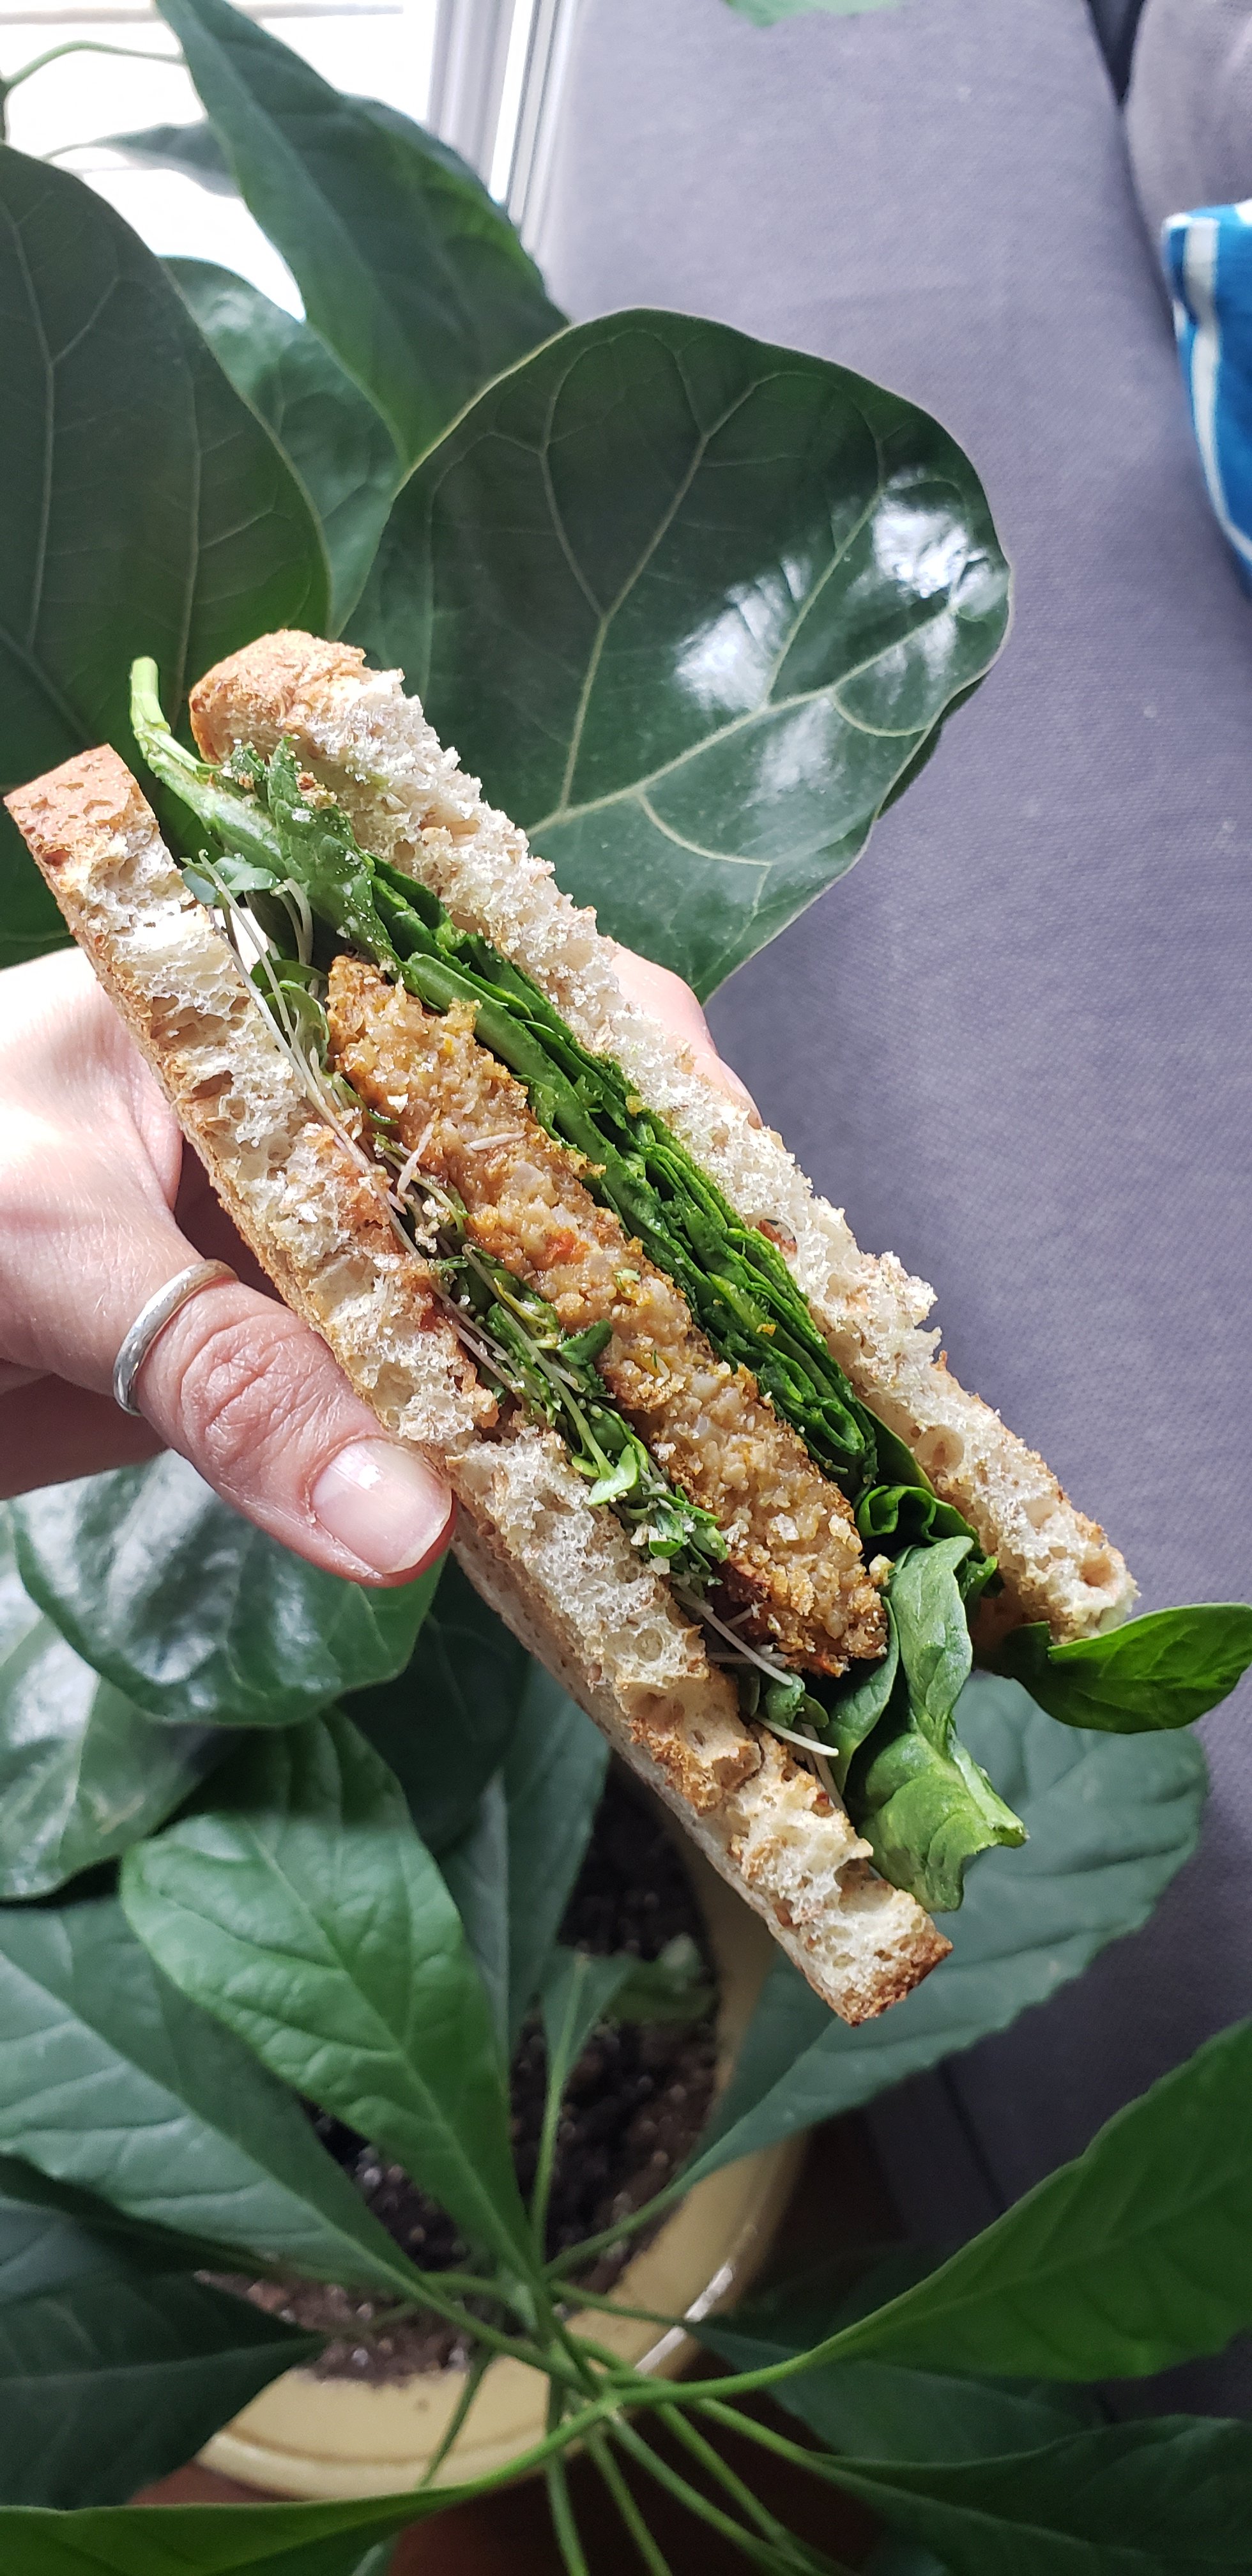
I love to make healthy twists to my favorite meals. Making homemade vegan veggie burgers is one of my absolute favorite meals. I can pack in an abundance of nutrition into my burgers by making them at home.
I also like to control what’s going into my burgers because then I know that no added oil has been put into them. I feel like that’s unnecessary extra calories that don’t give me any nutritional benefits. Every tablespoon will run an extra 120 calories and that sure adds up quickly at each meal! I will pass on that and just eat more real unprocessed food for the same calories.
I enjoy my burgers with Spinach and sprouts on sprouted bread.
My feedback after posting the recipe video on my YouTube Channel has been wonderful. Everyone has told me that they love how quickly these burgers come together. I’m thrilled! I love helping people save time in the kitchen and still get wholesome food on the table.
You only need 4 ingredients to make the most epic burgers.
This recipe only uses four ingredients to make. I wanted to create a recipe that everyone could pull together easily. I wanted to make sure that even the most inexperienced cook could still whip these burgers up and eat a healthy burger alternative. I also wanted to make sure that it was a low cost meal. Not everyone has the ability make certain recipes because food costs are quite high these days. I often stick to basic ingredients that can be found anywhere and cost little to buy. Spices are definitely optional because they will taste great even if you don’t have any to add to them. Even something as simple as salt and pepper is all you really need for extra flavor. Use whatever you can afford, have on hand or that is easy to find in your local grocery store if you add extra seasonings.
My favourite veggie combination.
GF Oats bought in bulk!
Save money with low cost meals
One of the best things about this burger is how easy it is to make a variety of things using just one recipe. You can use this mixture not just to make burgers but also for veggie bites, tator tots, falafels, and veggie “meat” balls. The possibilities are endless! I love creating recipes like this!
You can change up the spices and trade out the ketchup for another oil free sauce of your choice to change things up every once in a while. You can also change up the veggies for different flavors or to use up whatever veggies need to be eaten first. I don’t like food waste! This recipe is great with a variety of veggies so use them up.
Optional: Spices & herbs. I like adding garlic powder, onion powder, paprika and dry oregano.
Method:
1. Preheat oven to 375° F.
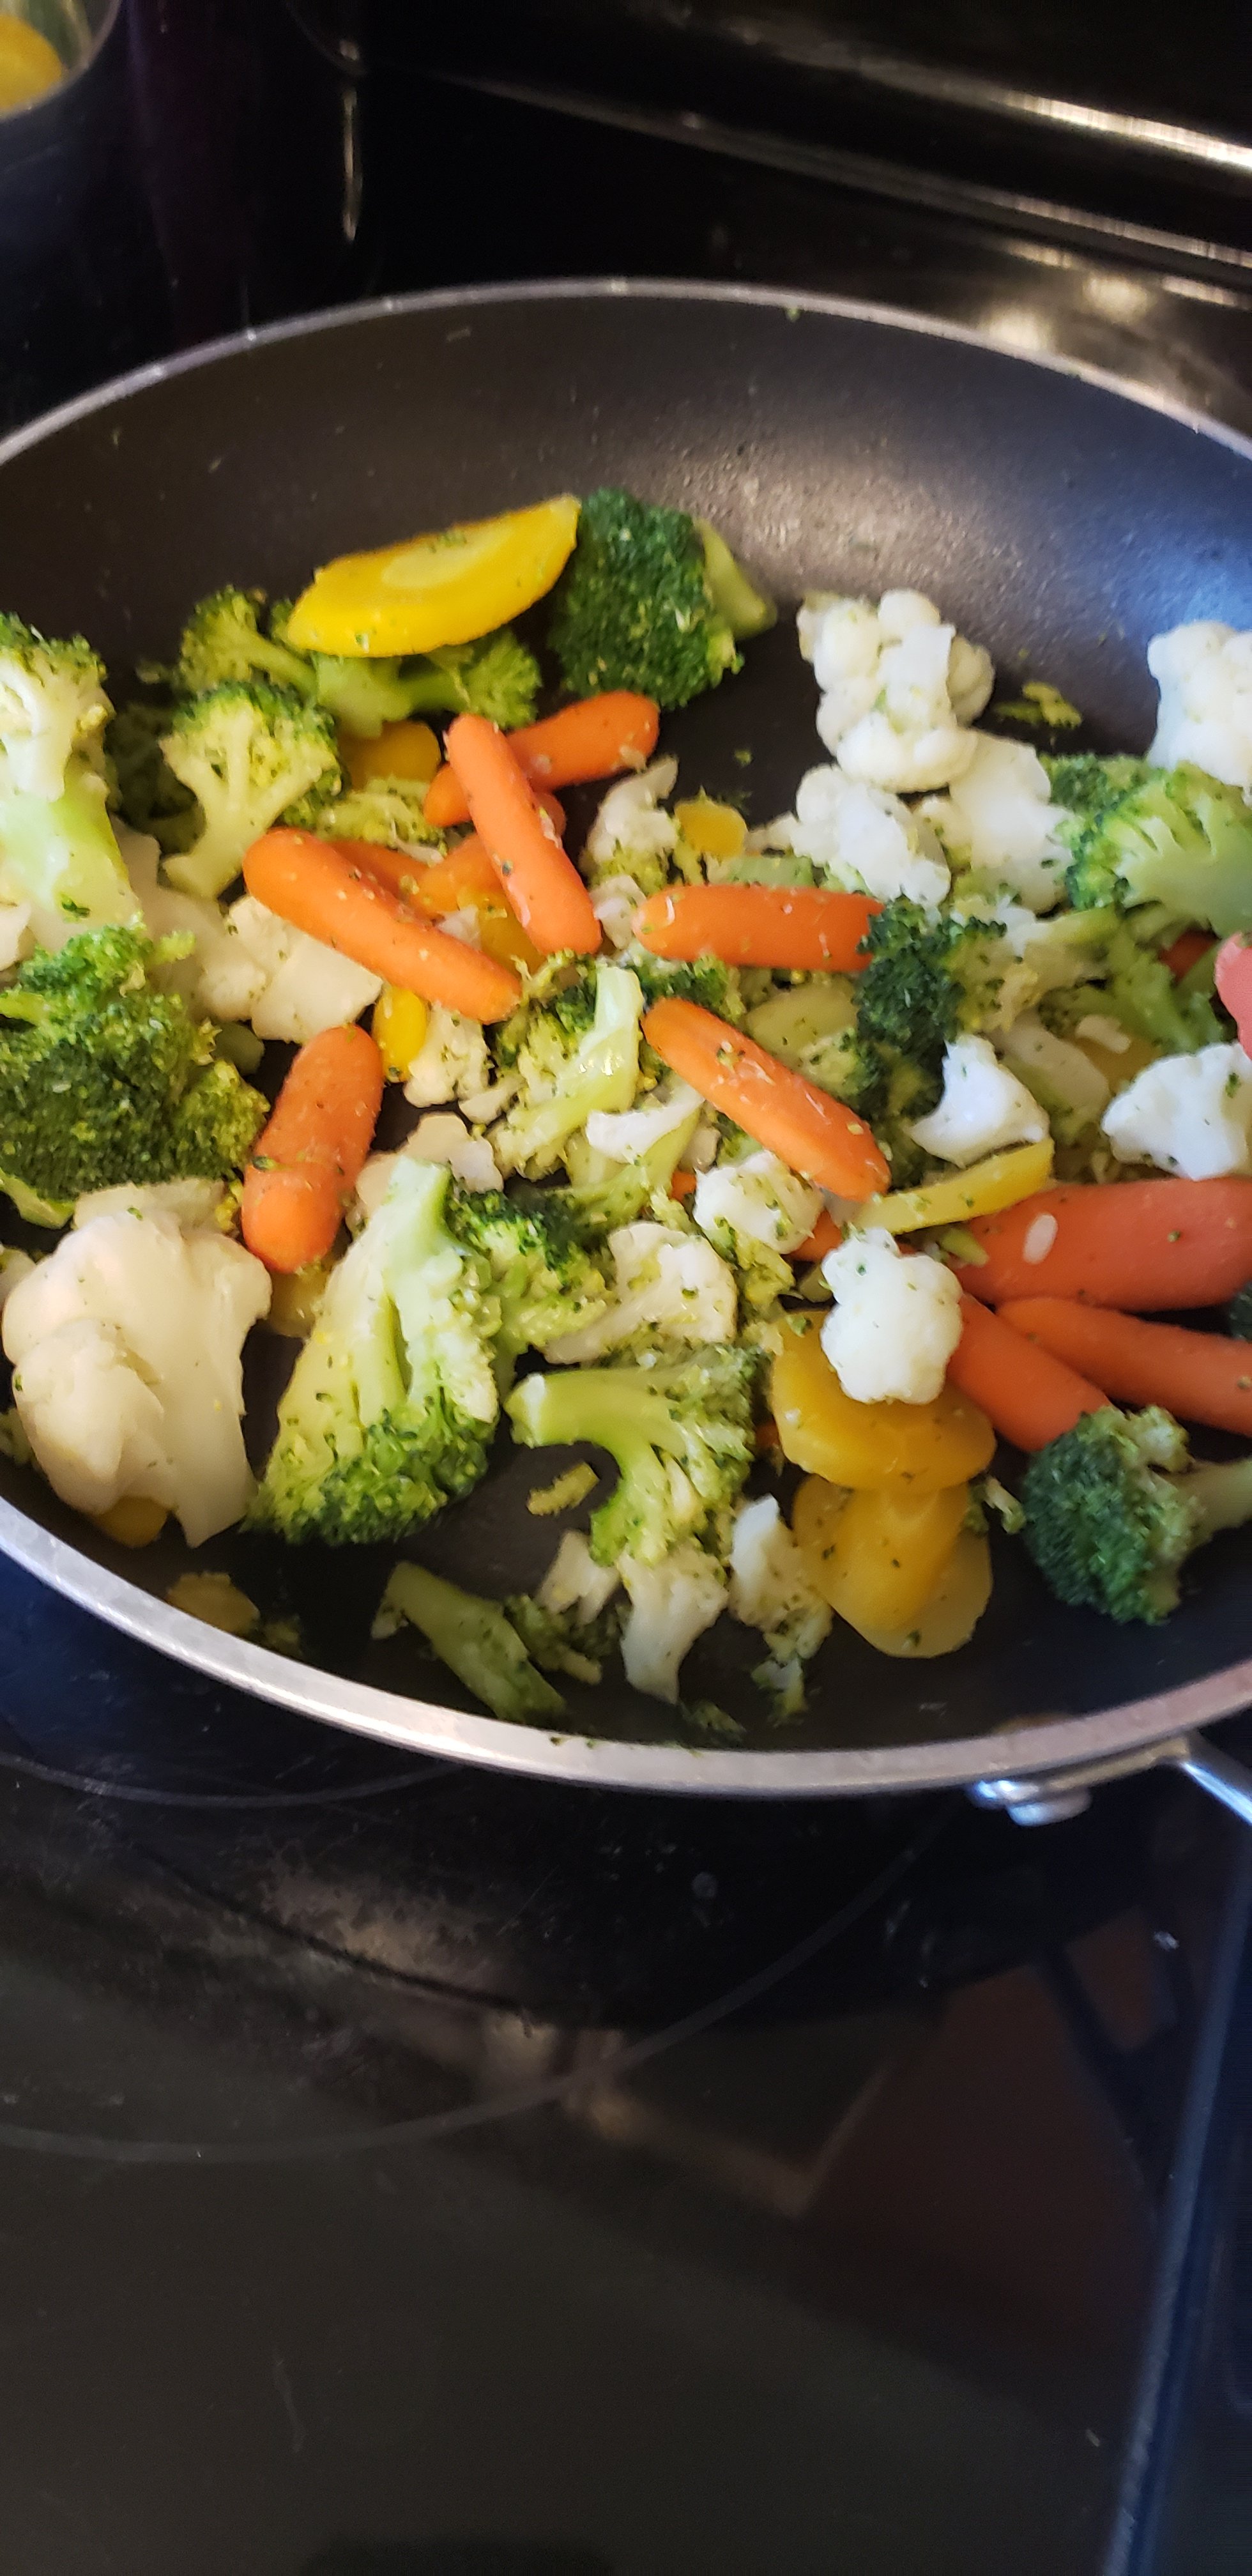
2. Cook up veggies of choice in a frying pan using water instead of oil. I like to use a mix of broccoli, cauliflower and carrot most often.
3. In a large bowl add the rice, veggies, ketchup & oats. Combine well and if you use spices or herbs toss those in now too.
4. Add the mixture to a food processor and pulse until combined well. Be mindful of not over blending it.
5. Add to a lined baking sheet and shape the burger patties.
6. Toss in the oven at 375°F and bake for 20- 25 minutes depending on the size of the burgers. Flip them at the half way mark.
ENJOY!
I’m adding my video of how to make these yummy burgers below for your reference.
If you make this recipe please comment below or tag me on IG! Thanks for the love and support here on the blog as well as on YouTube. Welcome to all the new Subscribers and Followers. If you haven’t already, check out my YouTube Channel and give this video a Like. Subscribe to my channel for more quick and easy recipes. You will also find wellness tips and be able to take a peek at my veggie gardens.
Who needs a recipe that can be made super fast but will still help you stick to your wellness goals? Fast food can definitely be made with a healthy twist if you put some thought behind it.
I love making Potato and Veggie patties because they taste super delicious and keep me on track with my health and wellness goals. I also love how I can use the same mixture to make a variety of things too. I make patties and veggie bites using the same simple mixture. I love easy recipes like this that can provide us with many different meal options. Let’s face it if we don’t have a variety of quick recipes then we will seek unhealthy alternatives.
Easy Potato & Veggie Patties with Hot SauceSuper simple & delicious Potato & Veggie Patties
The number one excuse people make for not eating healthy is that they don’t have time to cook.
I just don’t agree with that because I can cook up a healthy meal using just a few ingredients on a normal basis. In the time it takes you to order food and get it picked up or delivered you can make a healthy meal at home. It doesn’t take much effort to cook up potatoes, rice, open a can of beans or legumes and whatever veggies you have on hand. Frozen or canned veggies are wonderful to have at home because they cook up really fast. I feel like these types of convience foods are extremely helpful in order to keep us on a track with our wellness goals.
I use my instant pot to cook up most of my meals because I’m short on time. You can make pretty much anything in this amazing small appliance quickly. I love to fill up my instant pot with healthy starches like potatoes or rice. Having it pre-made gives me the opportunity to make a meal super fast. I also love having precooked potatoes in the fridge so you just have to grab them and reheat them when you get hungry. Rice can also be frozen which I find very helpful when I know it’s going to be a super busy day.
Having time saving hacks will prevent you from going out and buying terrible junky foods. Being prepared will help you stay successful and on the right track.
POTATO & VEGGIE PATTIES
Ingredients: – 4-5 lbs of potatoes – 4-5 cups of veggies (I used frozen veggies, my favorite is brocolli and green beans) – seasonings of choice (optional)
1. I cook my potatoes in my 6 quart Instant Pot (about 4-5 lbs of potatoes) for 20 minutes and allow it to naturally release. You can also cook potatoes in a regular pot on the stove if you don’t have an Instant Pot.
2. Cook up 5-6 cups of frozen mixed veggies on a frying pan using water or broth to saute them.
3. Add the potatoes into a large mixing bowl and mash them up. Depending on the size of the bowl, you may need to do this in batches.
4. Add in the cooked veggies and mix well.
5. Add in any optional seasonings or spices of choice.
6. Shape into patties and pop them into the air-fryer to cook up. You can also use the oven if you don’t have a air-fryer available to you.
I cook mine at 350 F for 14 minutes, flipping them half way. Adjust the timing according to the size of patty you make.
I dip mine in sugar free ketchup most of the time. I also like to make veggie burgers using this recipe too.
I hope you enjoy this recipe as much as I do. I’d love it if you could tag me on IG @VeganMommyDee if you make the recipe.
I love making No Waste Quick & Easy Meals. I absolutely hate wasting food! Anyone else buy loads of food and a week or two later you start tossing it in the trash or organic bin? It’s just so wasteful.
This hurts our wallet, health and our planet.
I vowed to start changing this bad habit. I didn’t want to continue throwing out perfectly good food because I didn’t plan my meals well enough. It was also starting to get too costly which is not ok when you really want to buckle down and save money for a rainy day. Saving money is on my top priority list this year.
I do use an organic compost bin so at least the food waste isn’t going in the trash can. It is however still horribly wrong and wasteful. I can’t justify buying food to just toss into my compost bin. Why is it so hard to use up everything we buy? I work long 12 hours shifts. A stretch of days go by where I can’t cook anything. I batch cook staple foods like rice and potatoes before I start all my shifts because thats super easy. I just add a veggie to it for my work lunches. I typically make frozen veggies on those days. I definitely don’t have the energy or will power to cook much more than that on those days!
My simple healthy work lunch.
Late last year I decided that I had to make a big change. I made the commitment to be more mindful of what I’m buying at the grocery store. No I don’t need every veggie on every single shopping trip! This was a hard thing to change because I really embrace the eat the rainbow lifestyle. Now I limit myself to what I truly need to make a meal or two with.
Roasted Sweet Potato and Mixed Greens Salad
Making these changes was difficult at first and even now I sometimes find goodies in the fridge that I’ve missed. I just make a meal out of these sad overripe veggies and it always turns out great! I feel like almost always something can be done with them. It might not be the best meal but it will be healthy and taste good. Of course there will always be times where the odd thing is too far gone to use. I just try my best to avoid it as much as possible.
I create meals using only a few ingredients these days that I quickly grab in the fridge. I use up whatever needs to be eaten first and go from there. I love this way of cooking. No waste meals are my absolute favorite now. It forces me to think outside the box and get creative. I’m actually really enjoying cooking this way!
No waste cooking has also made me get back to basics and eat more simply. I’m able to save a lot of time by eating this way. I’m not spending endless hours in the kitchen. Great cooking doesn’t have to be fussy and complicated.
My Empty the Fridge Veggie Bowl!
I hope that this inspired you to reduce food waste. Join me this year as I change myself to continue my no waste meals and reduce food waste in our homes!
Catch me on VeganMommyDee’s Life on YouTube. Consider subscribing if you enjoy health, wellness content and easy to cook recipes.
I’m enjoying my veggie garden and it’s abundance this year more than ever. With COVID-19 happening I still only shop when necessary. I love being able to grow my own veggies so I don’t have to buy as much produce at the grocery store. Being able to just walk outside and pick my own veggies is the best feeling ever!
I also love how fresh my home grown produce is. Honestly it even tastes better! Currently I’m obsessed about how my Green peppers taste. I feel so grateful to be able to grow these healthy foods. I feel so energetic and happy during this time of year. It’s probably because of a combination of things I’m sure. I eat even healthier, fresher and more organic food than other times of year for starters. I feel way more active as I’m busy gardening and taking a couple long walks daily. The amount of vitamin D I’m also getting daily makes a huge difference in my wellness.


You must be logged in to post a comment.