Healthy Guilt Free Banana Loaf that Actually Tastes Great!

Hi everyone! Hope all is well with you all. It’s still quite cold and damp in my neck of the woods. The rain and dampness has made me crave comforting baked goods so I’ve been revamping my banana bread. It’s just a cold, cold Spring!

I’ve enjoyed baking and creating lots of cozy meals lately. It’s all about the comfort meals this time of year. I have so many recipes to share with you all this year and I’m hoping to get them posted soon. I’ve been recipe testing and trying my best to create healthy versions of my favourite meals. Many of them have been a huge success but a few still need to be tweaked a tad.

I’ve recreated my original banana bread and made it as healthy as possible without sacrificing the taste of this epic treat. I’m so very happy with the result! This is the most often made treat at my house. It’s easy to make, includes staple ingredients that pretty much everyone has on hand and it’s guilt free. It’s healthy and delicious! No need to have any guilt about indulging in this banana bread. You’re fueling your body with nutritious ingredients instead of the typical store bought version that’s full of sugar and fat.

I also love using this recipe for mini muffins and mini loafs. Just bake them for a shorter period of time. I love how versatile this recipe is.

I really tried to break this recipe down to minimal ingredients so that everyone can feel like they can make it easily. It doesn’t matter what your skill level is in the kitchen either. This recipe is so easy that anyone can make it, and end up with a perfect snack. I also like to create meals that children can make as well. My son is usually my assistant in the kitchen. I want him to learn the importance of making home cooked meals and desserts. My recipes are easy enough for him to help me with and learn some skills. If you have little ones too, then you can definitely make this recipe with them!

My recipe is less calorie rich than my original version. I decided to eliminate the nuts and oil to save on calories. I realized that they were honestly unnecessary ingredients in the recipe. Any type of oil is still refined and not healthy by any means. It provides no nutritional benefits and makes baked goods very calorie rich. I know the hype right now is eat all the fat you can because it’s said to be healthy for us in our diet. The reality is, it’s not. Yes we need some fat in our diet but it really should be from the whole food source such a yummy avocado.

I will add my video version of this recipe below. I know a lot of you enjoy watching the recipe video on my YouTube channel. Thank you for the continued support on my channel. I really appreciate it. If you haven’t already Subscribed to my channel then please consider doing so if you enjoy health and wellness videos. I make healthy yet satisfying meals on my channel and provide wellness tips as well.

Ok so let’s get to the good part …

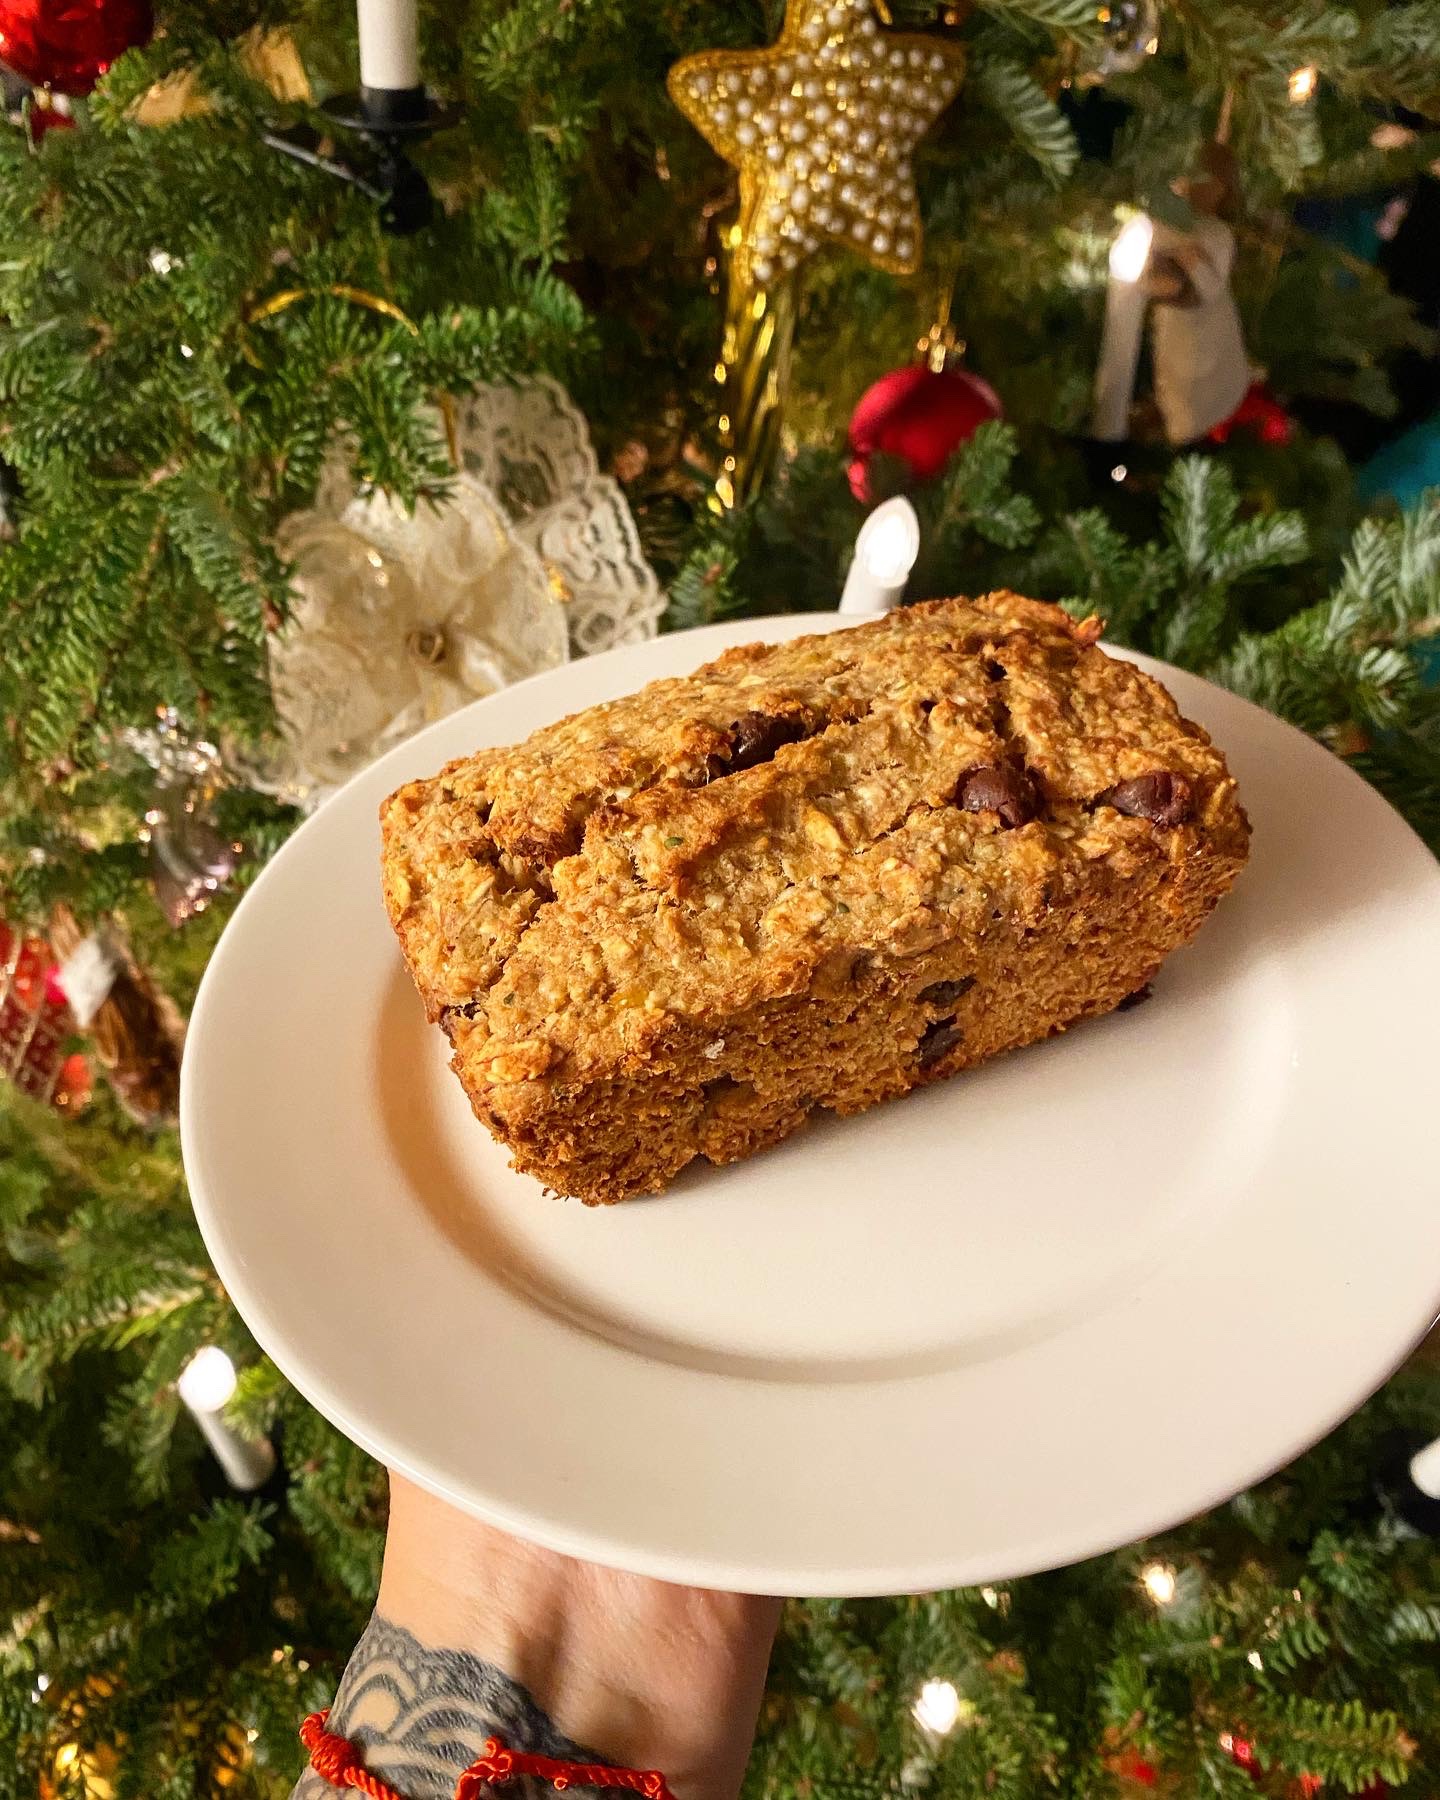
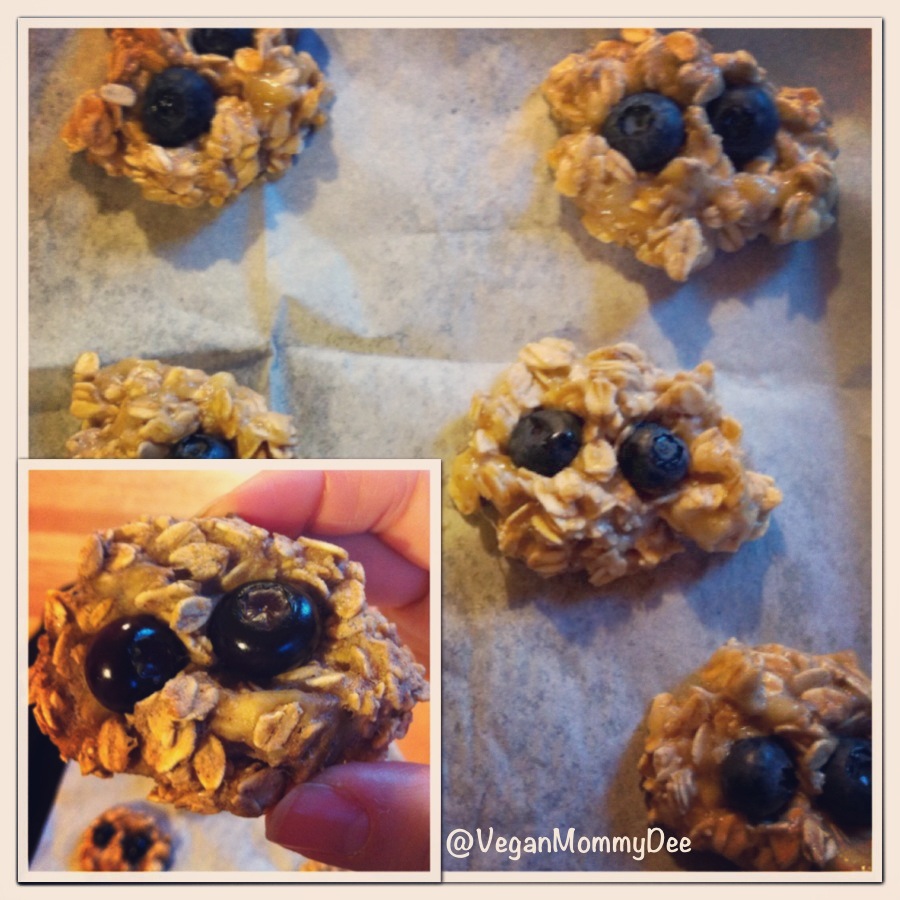
Here is probably one of my most favourite recipes that I’ve ever created! I hope you enjoy it as much as we do!


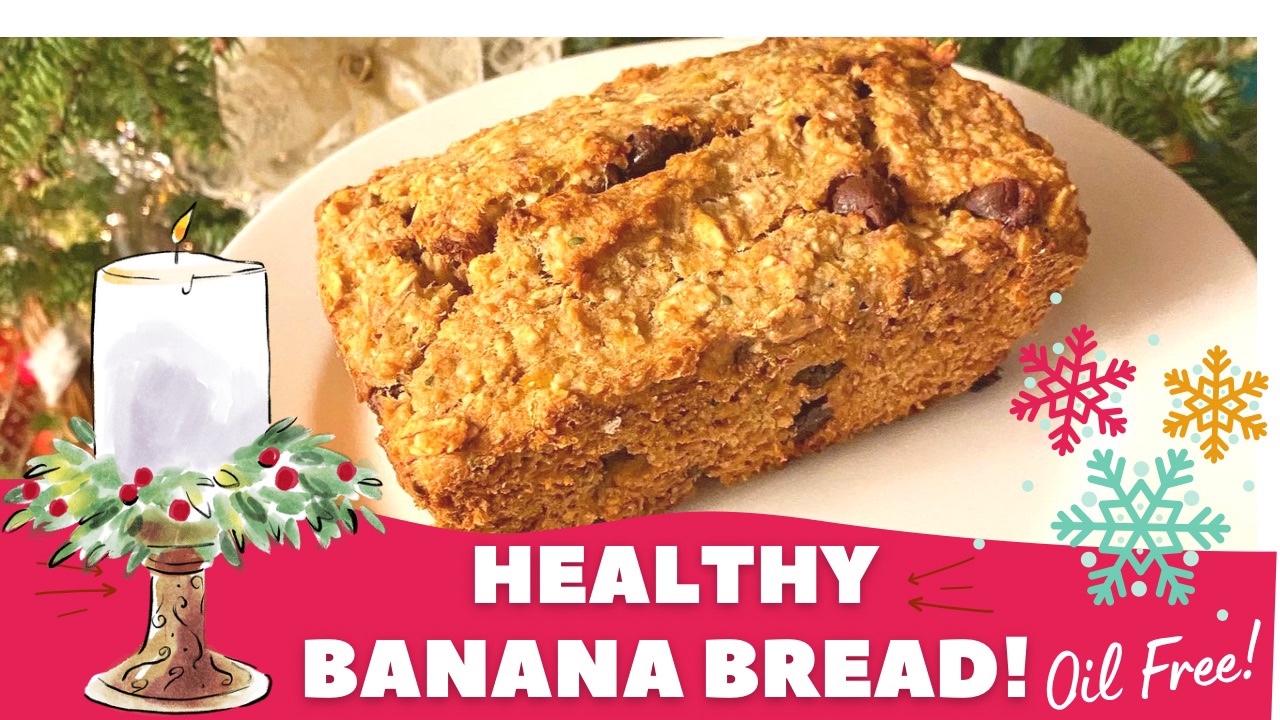
Healthy Guilt Free Banana Bread


Dry Ingredients:

2 cups of oat flour

1 cup of oats

1 teaspoon of baking powder

1/4 cup hemp hearts (optional)

2 Tbsp. Ground Flax


Optional : 1/4 – 1/3 cup Vegan Chocolate chips/chocolate chunks or cacao nibs

Wet Ingredients:

6 Tbsp. Warm Water

1 teaspoon pure vanilla extract

1/2 of a cup of plant-based milk

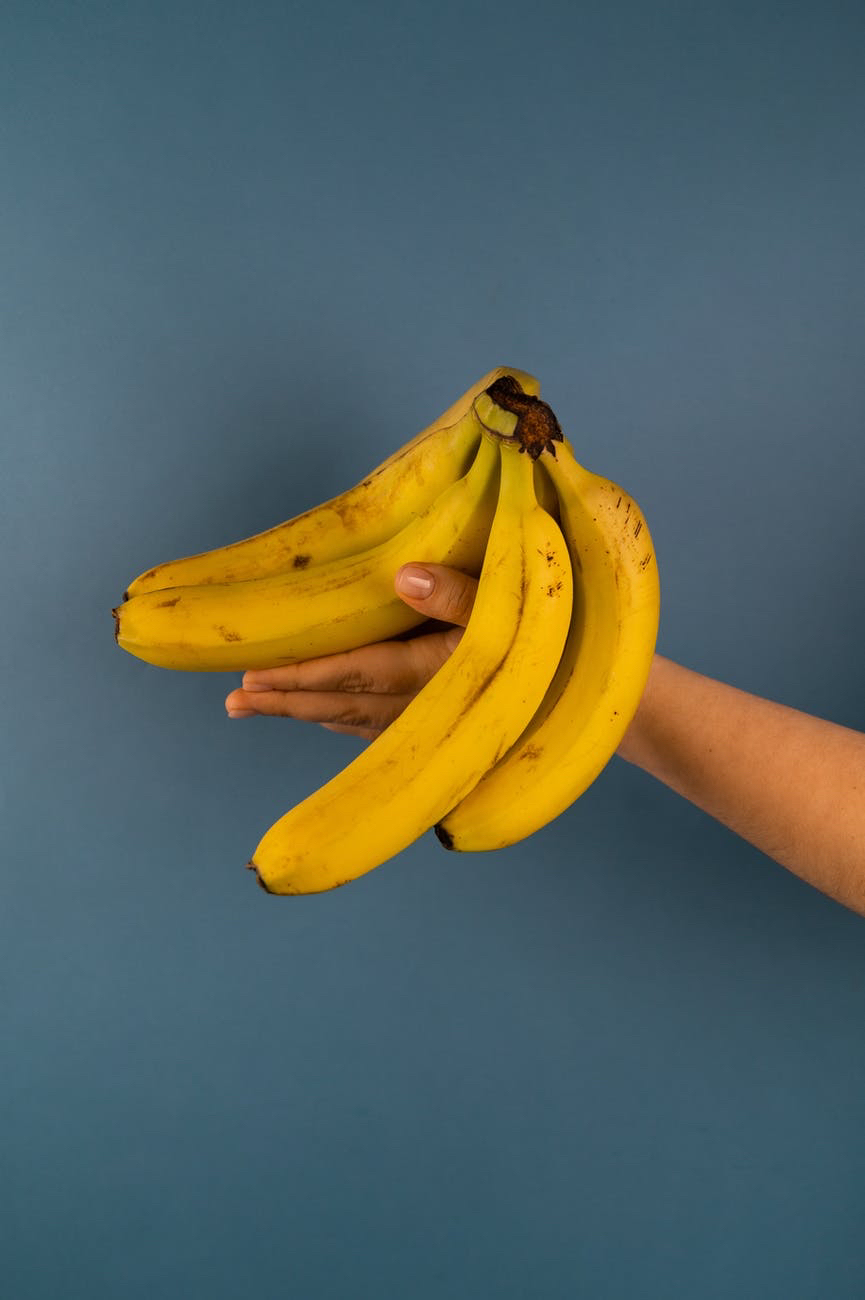
3 regular sized spotty bananas, mashed

1/3 of a cup of sugar. I use coconut sugar, brown sugar, or maple sugar.

* Preheat oven to 350 F *

Method:

1. In a large bowl place 2 cups of oat flour and 1 cup of oats. Next add in 1 teaspoon of baking powder and 1/3 cup sugar of choice. Combine well. Toss in the 1/4 cup of hemp hearts if you are using them in your banana loaf.

2. Add 2 tablespoons of flax meal to a small bowl with 6 tablespoons of warm water. Mix well and allow to thicken up

3. In another large bowl mash three spotty bananas well. Add in 1 teaspoon of pure vanilla extract and the 1/2 cup of plant-based milk. Mix well.

4. Add the flax egg into the wet ingredients. I use a fork to mix it well.

5. Next add the wet ingredients into the dry and combine everything very well.

6. Transfer your batter into your baking dishes or loaf pans. Bake at 350° for approximately 40 to 50 minutes.

ENJOY! 💛

Let me know if you try my recipe out in the comments below! Have a wonderful week everyone!

Health, Joy & Positive Vibes,

Easy Butternut Squash Soup


We are definitely in the heart of the fall season and cozy recipes are required! It’s the time of year where we feel the need for those comfort meals as the days get darker, quieter and colder. We crave the cozy warm recipes that just make us feel good inside. This is my favourite season to create recipes. I get so inspired by all the foods in season during this time. Everything looks absolutely delicious and I start to think of all the recipes I want to try making. It’s just simply a wonderful time of year!

Many people will say that during this time of year they typically put on weight because they eat more decadent meals. Some say they crave “bad” foods. I feel like anything that’s a favourite cozy fall meal can be made into a healthier version. You can enjoy the wonderful much loved meal and still stay on track with wellness goals. I love to create meals that are guilt free and healthy but still taste fabulous. I know I’ve said this before but you CAN have it all! No more beating yourself up about eating naughty meals! You just have to get in the mindset of adjusting the recipe to meet your health and wellness goals. Also I’d like to add that if you do enjoy indulgent meals here and there, that’s also totally ok. It’s all about balance in life. I say just clean up your act and eat as clean as possible after that meal. It will be just fine.

I created this very simple butternut squash soup recipe using wholesome ingredients and it tastes fantastic. This recipe is a crowd pleaser and it’s perfect for entertaining during the holiday season as well. Now that covid restrictions have lightened up and families can get together we can finally start having guests over! Wow this is exciting! Everyone will enjoy this soup! My feedback after posting this recipe on my YouTube channel was excellent. I feel so good knowing that people are enjoying this hearty yet healthy soup!

Squash is abundant in every grocery store or farmer’s market this time of year. It’s definitely easy to find because they seem to be the star of the show in October and on into the colder months. Squash can be inexpensive as well and it’s quite hearty. You can make this whole recipe using just one butternut squash. A little goes a long way. My recipe will serve 4 people, so if you want to make it for a larger gathering then just make sure you pick up extra squash. I bought mine from Costco and they actually came in a two pack which is great. They worked out to 3.5 lbs each.

What if you don’t have fresh produce available to you? Depending on where you live or your budget you might not be able to get fresh squash. That’s totally ok! You can definitely use canned squash of any variety to make this recipe if needed. They do sell butternut squash in cans so this might be a good solution for you. You can also use frozen squash if that’s all you can find as well. Find whatever works for you because my recipe is very adaptable. Creating these healthier options doesn’t have to be complicated. I find sometimes we get into these rigid rules when cooking and that is just way too stressful. We tend to over complicate things and it doesn’t have to be this way.

Butternut Squash is full of Vitamins, Fiber and Antioxidants. It’s loaded with vitamin C, vitamin A, and B Vitamin’s as well. It’s rich with magnesium and potassium which plays an important role for us in our bone health. It’s so nice to know that something so delicious is actually really beneficial to our health.

I decided to add some apples to this recipe because we had picked a whole bunch from our tree in the backyard. They needed to be used up and they taste so incredibly good! I’m not sure what the variety is but they grow perfect and I love how sweet they are. I don’t put any pesticides on my tree and they still turn out perfect. No bugs either! The only battle I have is the Toronto raccoons eating them on the tree and then throwing half away onto the ground. They basically eat half of the apple and throw away the rest! Ugh! Why can’t they just eat the whole thing?

Fresh Apples from my Backyard!

I hope you enjoy my easy Butternut Squash Soup recipe. Let me know if you make it and if you make an adjustments to the recipe. I will post the video version of this recipe below if you would like to watch me cook this lovely soup. Enjoy this amazing time of year and the gorgeous fall season!


Easy Butternut Squash Soup

Ingredients:

⁃ 1 Butternut Squash, peeled & chopped Look for one around 3.5 lbs.

⁃ 1 tbsp. Bouillon

⁃ 4 1/4 cups water

⁃ 1/2 onion, chopped

⁃ 3 medium sized apples, chopped

⁃ 3 cloves of garlic

Herbs & Spices:

⁃ Paprika

⁃ Curry powder

⁃ Onion powder

⁃ Cumin powder

⁃ Dry Oregano

⁃ Black pepper

⁃ Himalayan pink salt


Method:

1. Preheat oven to 400F

3. Peel & chop the butternut squash. Add it to a lined baking pan.

4. Peel and chop apples and add them to the baking pan.

5. Chop up onion and peel garlic cloves. Toss into the pan. Add the spices to the mixture as well.

6. Pop the baking pan into the oven at 400F for 30 minutes. I gave it a mix at the half way mark.

7. Add the butternut squash mixture to a large pot. Add the bouillon, and water as well.

8. Use a hand blender to purée the soup or add it in batches to a blender.

9. Add more spices if necessary according to you taste.

10. Add the soup to bowls and enjoy!

Note: garnish with some pumpkin or squash seeds on top if desired.

Enjoy!!!

Health, Joy & Positive Vibes,

Debbie

~VeganMommyDee~

Pancake Tuesday!

It's Shrove Tuesday / Pancake Tuesday today!

It’s Shrove Tuesday / Pancake Tuesday today!


It’s Pancake Tuesday, Shrove Tuesday or Fat Tuesday … whatever ya wanna call it it’s fine by me! If you’re not familiar with it then just click on Shrove Tuesday & Fat Tuesday and the links will fill you in. As per tradition I made pancakes for my kids to enjoy this morning. I put together some super fast and easy pancakes while packing school lunches and getting my crew out the door on time. I made super Cinnamon vegan pancakes and Cinnamon & Blueberry pancakes as per my 9 year old’s request. When I’m in a big hurry (like today) I use a premixed flour pancake mix sometimes which contains healthy whole grains like brown rice, teff, spelt and quinoa flour. I like having a bag of the premixed flour handy but they sometimes contain sugar and I prefer sugar-free options. To sweeten my pancakes I’ve only been using sugar-free powder stevia and I love the results! I find the liquid stevia way too bitter in taste however so I stick to the powder form. That way the only sugar we are actually putting on our pancakes is the 100% natural Canadian maple syrup and the natural sweetness from the berries. I sometimes skip the maple syrup and just add a touch of pure organic coconut oil on top as an even healthier alternative … yea bring on the yummy good fats! Below is the in a rush on a school day recipe I used this morning 🙂


CINNAMON / BLUEBERRY CINNAMON PANCAKES


Ingredients:

  • 1 cup of your favourite flour mix
  • 1 tsp. aluminum free Baking Powder
  • 1/4 cup filtered water
  • 1/3 -1/2 cup unsweetened almond milk
  • 1 melted tbsp. of coconut oil
  • 3 packets of stevia
  • 3 tbsp. flaxmeal mixed with 9 tbsp. of water, let sit for a couple of minutes to thicken up
  • 1 tbsp. cinnamon, or to taste
  • 1 pint of blueberries, I usually save some for garnish on top
  • You will also need vegan butter or coconut to coat your pan for cooking


Method:

  1. Mix your flaxmeal with water and let it sit.
  2. In a medium-sized bowl add the flour, baking powder, cinnamon, and stevia. Mix well.
  3. Heat a frying pan with a vegan butter or coconut oil
  4. In a small bowl add the water, milk and the coconut oil and mix well. When adding the milk add in 1/3 cup and you can add more if needed afterward.
  5. Add the wet ingredients into the dry. Add in extra milk if you find your batter is too dry. Also add in the flaxmeal as well and combine. Don’t over mix however or your pancakes wont be as fluffy.
  6. Transfer the pancake mix to your preheated frying pan or griddle. They cook up fast so keep an eye on them.


NOTE:

  • As far as the blueberries go I usually add them in to my batter once I’ve made some plain cinnamon ones as some of my kids prefer them without the blueberries. Then I gently add the blueberries into the batter and cook up the rest.


*This recipe makes about 6 good-sized pancakes so I normally double it.*


Enjoy! 🙂

Banana Blueberry Oat Cookies!

Healthy Banana Blueberry Oat Cookies!

Healthy Banana Blueberry Oat Cookies!


My recipe for Banana Blueberry Oat Cookies only has 4 ingredients in them …yes only 4! I want to be able to enjoy a cookie or treat without all the guilt associated with it, which is one of the reasons why I like to come up with my own recipes. The other reason is I strive to eat healthy on a daily basis. I want to be able to eat a cookie that only contains a few ingredients not chemical sugar loaded junk that’s found on super market shelves! These cookies have no added sugar in them! The bananas add enough sweetness so I don’t add any extra sugar to them. I’ve been trying to stick to sugar free snacks now and I’ve also been experimenting with stevia as an alternative. I’m also on a fitness quest so it’s important to for me to not set myself backwards by eating unhealthy treats. These simple cookies are so easy to take on the go too which is super handy when the hunger bug hits ya and all you have around you is junk food/fast food. They are very helpful to me when my daughter is at glee club and dinner time is approaching. All they have in the community center are vending machines full of junk! Tempting at times but no thanks I’ll just enjoy a healthy banana blueberry oat cookie instead! 🙂


Banana Blueberry Oat Cookies 


Ingredients:

  • 1 cup gluten free old fashion rolled oats (I use Bob’s Red Mill organic brand)
  • 2 organic mashed banana
  • 1 tsp. cinnamon, or to taste
  • 1/3 cup blueberries


Method:

  1. Preheat oven to 325 F
  2. Line a baking sheet with parchment paper
  3. Mash the two bananas in a medium sized bowl
  4. Add the oats and cinnamon. Combine really well.
  5. With a spoon scoop out the mixture and place on the baking sheet to make your cookies. Make them whatever size you prefer and top each cookie with desired amount of blueberries.

Note:

*  You can also gently add the blueberries into the mixture before you scoop it out to make your cookies. I don’t prefer to however because I think they look pretty topped with the blueberries and I don’t risk breaking them in the batter. *

* These quantities made 9 cookies for me*


Enjoy! 😀


~ Chocolate Mousse Pie ~

Chocolate Mousse Pie!

Chocolate Mousse Pie!

This pie is so easy and fast to make so it’s now become my go to dessert. It’s made with simple ingredients that I always have on hand. To save time I usually buy a vegan already pre made graham cracker crust but a simple nut & date crust would also work really well. Depending on how sweet you like your desert you will need to adjust the agave/maple syrup to suit your taste. I’d like to try my recipe using stevia as a sugar-free alternative. When I do I’ll update you on how that turns out! It doesn’t hurt to try right? 🙂

*My apologies everyone. I posted the recipe originally without proof reading very well and I missed a crucial ingredient! THE DATES!!! Don’t forget those!*

Ingredients:

  • 3 large avocados
  • 1 cup unsweetened cocoa
  • 1/2 cup agave
  • 1/3 cup unsweetened almond milk
  • 1/3 cup pure maple syrup
  • 1  pre-made graham cracker pie crust/shell
  • 1/2 tsp. pure vanilla extract (optional)
  • 1/2 cup medjool dates

Method:

  1. Add the dates to a bowl and soak them in warm water for 10 minutes to soften up.
  2. In a food processor add the dates (pitted), avocado, cocoa, almond milk, vanilla, agave and maple syrup and combine very well. If you are finding it a bit too dry then add a touch more milk to the mixture.
  3. Add the mixture into your pre-made pie shell and smooth it out.
  4. Place in the fridge to set. I find that it is best to make it the day before so the chocolate moose firms up slightly. It’s easy to slice up once set properly.

*I add Christmas sprinkles on top during the holiday season which makes the pie look really nice. My kids also like to drizzle peanut butter on top of their slices which tastes amazing!*

Enjoy!

Christmas Chocolate Mousse Pie!

Christmas Chocolate Mousse Pie!

Chocolate Muffins with Mini Chocolate Chips!

Chocolate Muffins

My kids are really picky and I’ve made many chocolate muffins but this is the favourite in my house! So now that I created a recipe that’s finally a hit with everyone I’m sticking to it! No more playing around with ingredients anymore when it comes to chocolate muffins/cupcakes in my house! LOL These muffins are really fast to make and have very simple ingredients. Sometimes the simpler recipes create the best outcome!

I want to mention that depending on the flour that you choose to use you may need to use a little more milk in the recipe. If you find it a little too dry then add 1 tbsp. more milk at a time. I tried to cut the sugar down in my recipe but that didn’t work out so well with my taste testing crew over here. Ugh! So it’s best to use 1/2 cup for best results. In order to make myself feel better I only add a few mini chocolate chips on top of each muffin instead of adding them into the batter. I cut down on sugar in that sense and the kids didn’t notice. Hey sometimes you have to be a little sneaky if it’s for their best interest right? 🙂

Here is my super easy and kid approved recipe …

CHOCOLATE MUFFINS WITH MINI CHIPS

* Makes 12 Muffins*

Ingredients:

  • 1 1/2 cups flour, I usually use brown rice flour or spelt flour. I’ve also used a mix of regular unbleached flour and brown rice flour and it worked really well.
  • 2 tsp. baking powder
  • 1/3 cup veggie or coconut oil
  • 1/4 cup cocoa powder, you can add more if you like a stronger chocolate taste.
  • 1/2 tsp. pure vanilla extract
  • 3 tbsp. flaxmeal
  • 6 tbsp. water
  • 1 cup unsweetened almond milk. Depending on the type of flour you use you may need up to 1/4 cup extra as some flours draw in the moisture more than others.
  • 1/2 cup coconut sugar
  • Handful of vegan mini chocolate chips

You will need:

  • 3 mixing bowls: 1 large, 1 medium & 1 small
  • 1  muffin tin (for 12 muffins)
  • 12 paper muffin liners

Method:

  1. Preheat oven to 400 F
  2. Add your flaxmeal to a small bowl and add 6 tbsp. of water to it. Mix and set aside for a few minutes until it thickens up a bit.
  3. Line your muffin tin with paper liners.
  4. Add flour, baking powder, cocoa and sugar into the large bowl and combine well.
  5. In your medium-sized bowl add milk, oil, vanilla and flaxmeal mixture. Mix well.
  6. Add your wet ingredients into your dry ingredients and combine. Don’t over mix. Add in a little extra milk if needed.
  7. Scoop up the batter and fill up your muffin tin.
  8. Top each muffin with some vegan chocolate chips.
  9. Pop them into the oven for 20 minutes.
  • Once baked allow to cool off in the muffin tin. Transfer to an air tight container.

* If you wanted to make cupcakes with this recipe then just add the mini chips to the batter instead. Once baked allow them to cool off completely and then ice them. Place them in the fridge for a bit to allow your icing to set nicely*

Enjoy! 🙂

muffins

Dinner Rush Tacos!

One of my gotta get dinner on the table fast meals is vegan/vegetarian tacos. They are always a hit with my kids! I love how you can use whatever veggies you have on hand and create a super fast meal. I cook up the veggie “meat” and always add black beans to it because it’s my kids favourite bean. As far as toppings go I use whatever I have in the fridge. I’ve made it using just the “meat” & beans along with chopped bell peppers, mushrooms and cherry tomatoes like pictured below. Other times I add in spinach or other mixed greens, corn and sliced avocado. Top it with a little hot sauce or taco sauce to give it a kick if you like and your cheese of choice. I don’t always top my tacos with “cheese” but if I do then I use a bit of daiya cheese. My kids eat their tacos vegetarian style and use regular cheese because they are not fans of faux cheese at all. As far as the veggie meat goes I try not using it very often because soy is one of the biggest foods genetically modified. When I do buy it I try to get organic when possible for a little piece of mind.


Dinner Rush Tacos!

You will need:

  • 1 package of tortilla wraps (I use the small size)
  • 1 package of veggie ground round/veggie “meat”
  • Spices and herbs of choice. I use paprika, oregano, chili powder, Himalayan pink salt and black pepper.
  • Veggies of choice, bell peppers, greens, tomato, etc.
  • 2 – 3 cloves of garlic, minced
  • 1 cup water
  • A couple tbsp.’s of olive oil
  • 1 can of black beans, drained and rinsed very well.
  • 1 large frying pan


Method:

  1. Heat olive oil in frying pan and add in garlic and sauté it for a minute on medium heat.
  2. Add your veggie “meat” into the pan and crumble it up.
  3. Next toss in your spices & herbs of choice as well as the black beans.
  4.  Give it a good mix and sauté for about 5 minutes on a medium heat.
  5. Add 1 cup of water and combine well. Cook for about 15 minutes until most of the liquid has been absorbed and your beans are softened.


* You can either add in veggies such as bell peppers & mushrooms to your meat & bean mixture and slightly cook them up or serve them raw in your taco*


To assemble:

  1. Grab a tortilla wrap and add some of the meat & bean mixture to it and add your veggies of choice.
  2. Top with cheese and taco or hot sauce if desired.
  3. DONE!!! Dinner is served! 🙂


Yep it’s pretty much the easiest meal to whip together which is perfect for rushed dinner times!

Enjoy! 🙂


Image