
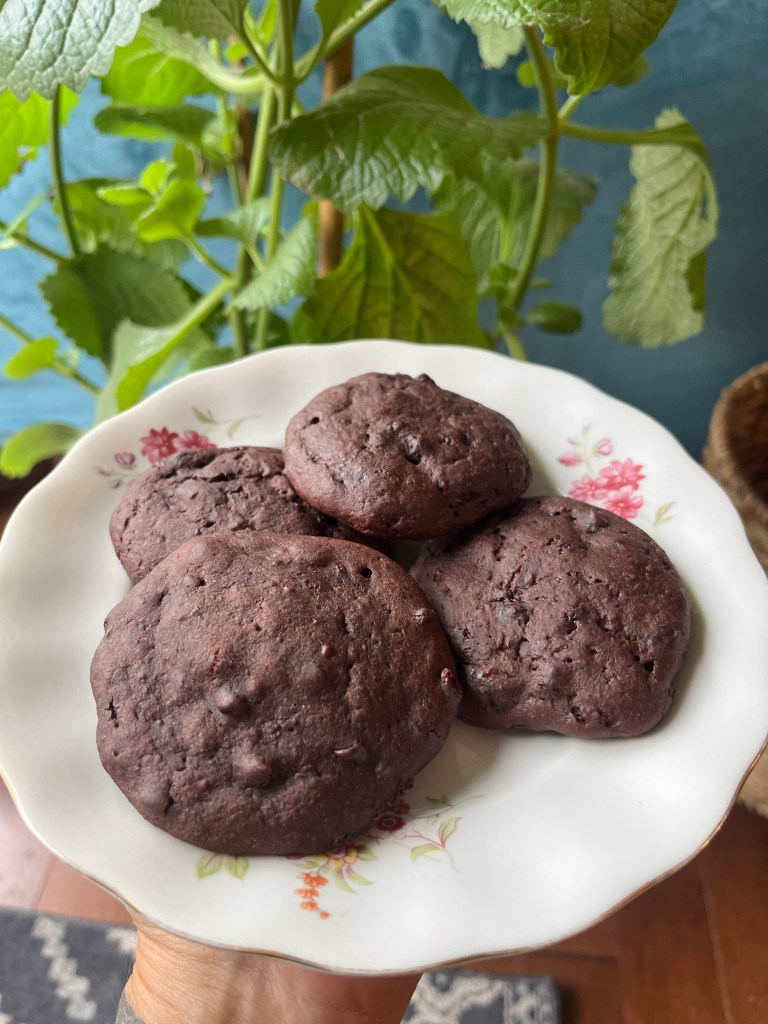
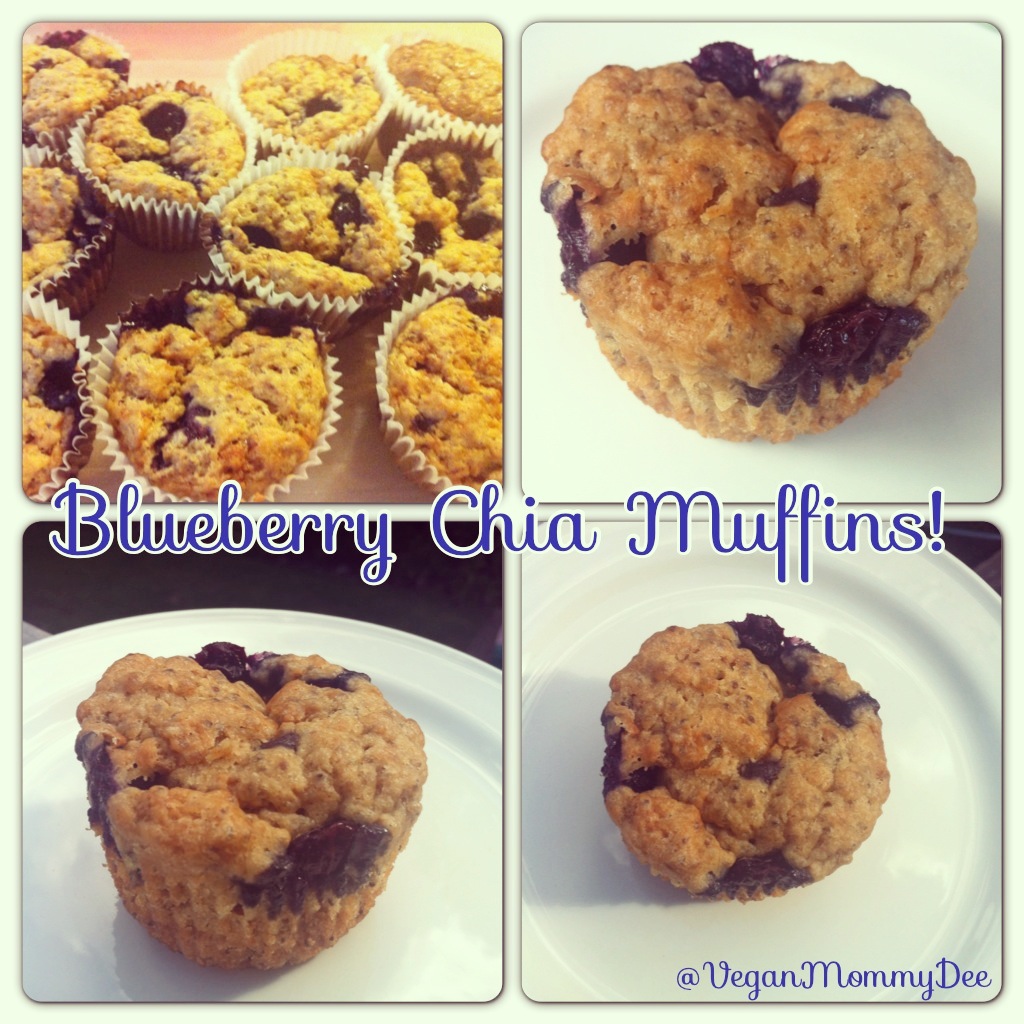
Healthy Blueberry Chia Muffins!
Mmmmmmm Blueberry Muffins!!!!! Healthy Blueberry muffins of course! 🙂 I make blueberry muffins often but usually use flaxmeal as my “eggs in my recipes. I played around with using Chia seeds as my “eggs” the last couple times I baked blueberry muffins. I love chia seeds and use them often in baking, smoothies and in my breakfasts. Chia seeds are a powerhouse of nutrition such as omega3 , protein, calcium and iron! They make me feel energized and they help me stay full longer so they are a staple in my kitchen. I use organic coconut oil in my muffins because I like the slight coconut taste it gives to the muffin and of course the health advantages but veggie oil can be substituted instead if needed. I usually use brown rice flour when I bake but I have also used spelt flour to make these muffins. Either way they turn out super yummy! As far as sugar goes I either use sucanat or coconut sugar in my baking. My kids prefer when I use the sucanat however. Anyway, as always this recipe is super easy to make!
Blueberry Chia Muffins
Ingredients:
- 1 1/2 cups Flour ( I use brown rice flour or spelt flour)
- 1 TBSP Chia seeds
- 1/2 cup Water
- 3/4 cup Almond Milk
- 1/3 cup Coconut Oil
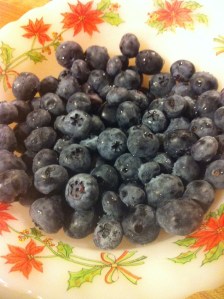
- 1 1/4 cup Blueberries
- 1/3 – 1/2 cup Sucanat or Coconut Sugar (I use 1/3 cup)
- 2 TSP Baking Powder
- pinch of Himalayan salt
Method:
- In a medium-sized bowl add 1 TBSP Chia seeds and 1/2 cup water to it. Mix and let it sit to thicken for 20-30 minutes. Give it a mix every now and then in that time period.
- Preheat the oven to 400 F
- In a large bowl add flour, sugar, salt and baking powder. Mix well.
- Add the coconut oil and milk into the chia mixture. Combine well.
- Place the wet ingredients into the dry ingredients and mix well.
- Gently fold in the blueberries into the mixture.

7. Line the muffin tin with paper liners or grease the baking tin.
8. Fill the muffin tin evenly with the mixture and pop it into the preheated 400 F oven. Bake for about 20 – 25 minutes. I find that mine are done at 25 minutes but every oven varies.
9. Once baked let them cool off in the muffin tin or they can also transferred to a cooling rack to cool off. Place in an airtight container once they have cooled down.
Healthy and so simple to make … Enjoy!

*For a glimpse into my foodie life follow me on Instagram ~ VeganMommyDee and Twitter at MommyDeeOf3 🙂


You must be logged in to post a comment.