Ok these are seriously delicious!!! Mushrooms and garlic go together insanely well as we all know so I thought they would be great for this recipe. I’ve wanted to try working with phyllo for a long time but was too intimidated to. I finally tried yesterday for the 1st time and it actually went pretty darn well! I’ll be making these very often now! I’m also going to try cutting down on the amount of butter used next time I make them. Although I didn’t use an excessive amount of butter in my recipe I think I could probably cut it down even further without jeopardizing the taste.
I bet these would be great with other filling options as well. I plan on creating some other options soon. My youngest daughter is super picky with her veggies but does enjoy broccoli. I will be making a broccoli filling along with this wonderful mushroom mixture next time. There are so many possibilities and I plan on creating many different options!
This recipe would be fantastic served as an appetizer during this holiday season for those of you who are entertaining your friends & family. This will definitely be on our Christmas menu at our house. 🙂
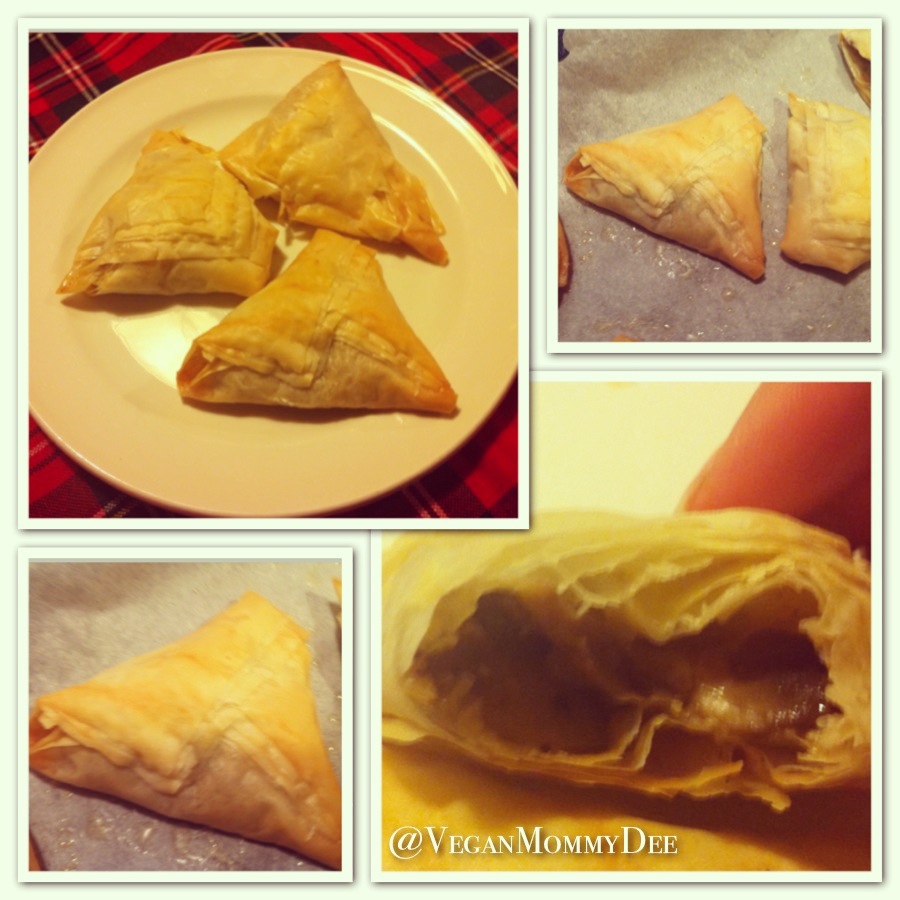
Garlicky Mushroom Phyllo Triangles
You will need:
- 1 package of phyllo dough
- About 2 tbsp’s. melted vegan butter
- large sharp knife
- parchment paper
- 1 baking pan/cookie sheet
- 1 package of mushrooms, chopped into small pieces
- 3-4 cloves of garlic, minced
- Himalayan pink salt and black pepper, to taste
- small frying pan
- 1 tbsp. olive oil
- small plate
- Small pastry brush
Method:
- Add the 1 tbsp. of olive oil to your pan and toss in the minced garlic into it. Sauté it for a minute on a medium/low heat setting.
- Next add in your mushrooms and salt and pepper. Sauté them for about 5 minutes until softened at a medium heat. Set aside.
- Preheat oven to 350 F and line the cookie/baking sheet with a piece of parchment paper.
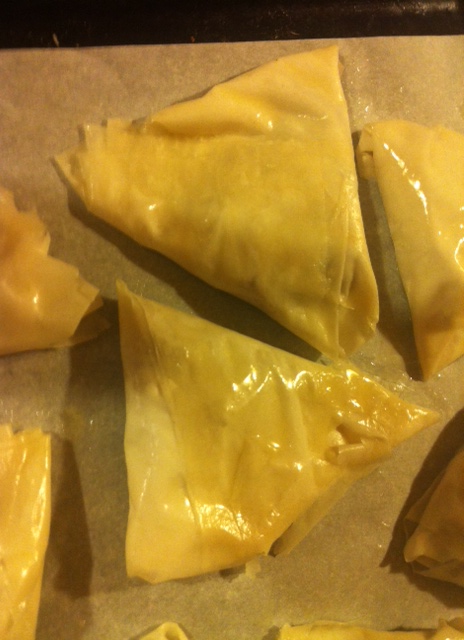
- Unroll your phyllo dough and using a sharp knife cut 2, approximately 10cm strips. Then you are going to cut each strip in half.
- On the small plate your going to add 3-4 pieces of your phyllo squares and lightly brush a little bit of vegan butter on top. You only need a tiny bit of butter! Don’t over do it!
- With a spoon scoop a bit of your mushroom mixture onto your phyllo piece. Then shape it into a triangle and seal it shut.
- Transfer to your cookie sheet/baking pan. Continue to make more triangles using your phyllo and mushroom mixture.
- Once your baking pan is full then lightly brush a tiny bit of the butter on top of each one.
- Bake for approximately 18 minutes. Keep an eye on them as ovens vary in temperature.
These went very fast in my house! Next time I will be doubling the recipe! I hope you enjoy them as much as we did. 🙂
* These made approximately 15 triangles*
~Debbie~
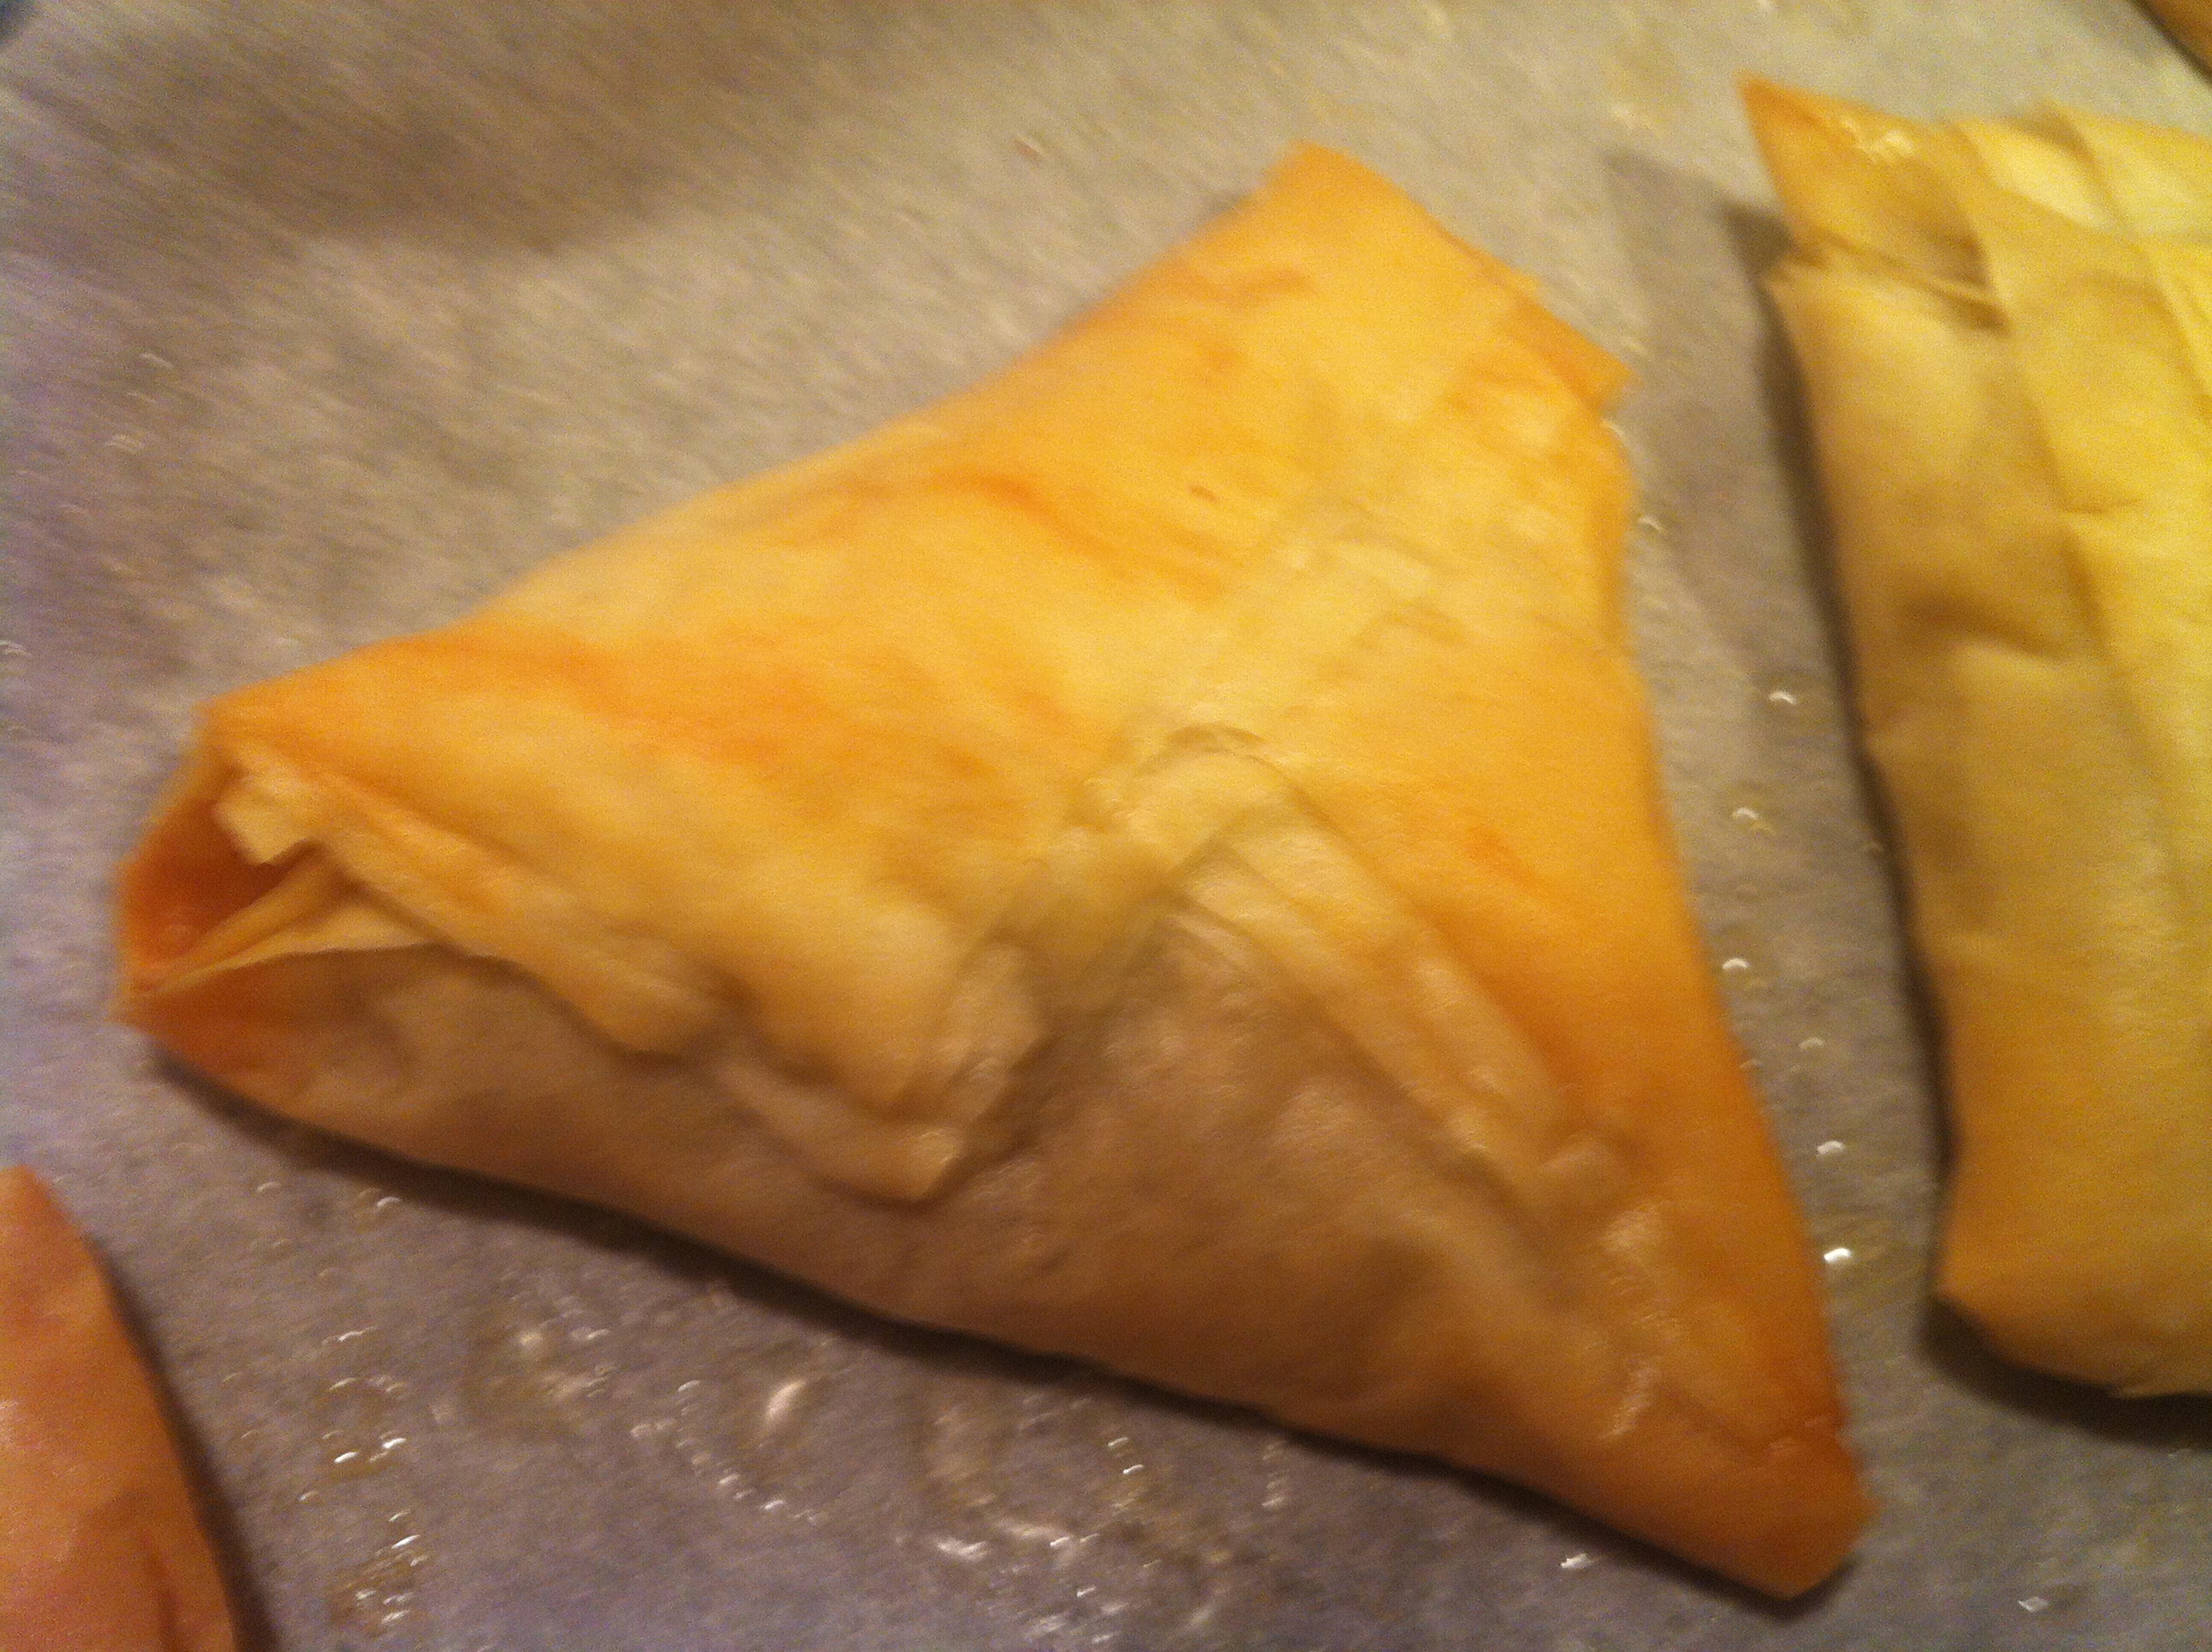
Baked Mushroom Triangles
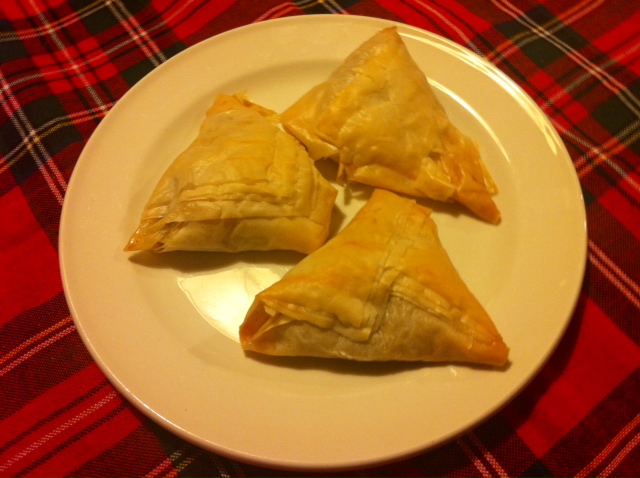
My baked Garlicky Mushroom Phyllo Triangles!


You must be logged in to post a comment.